Maple Alps

Natural Living

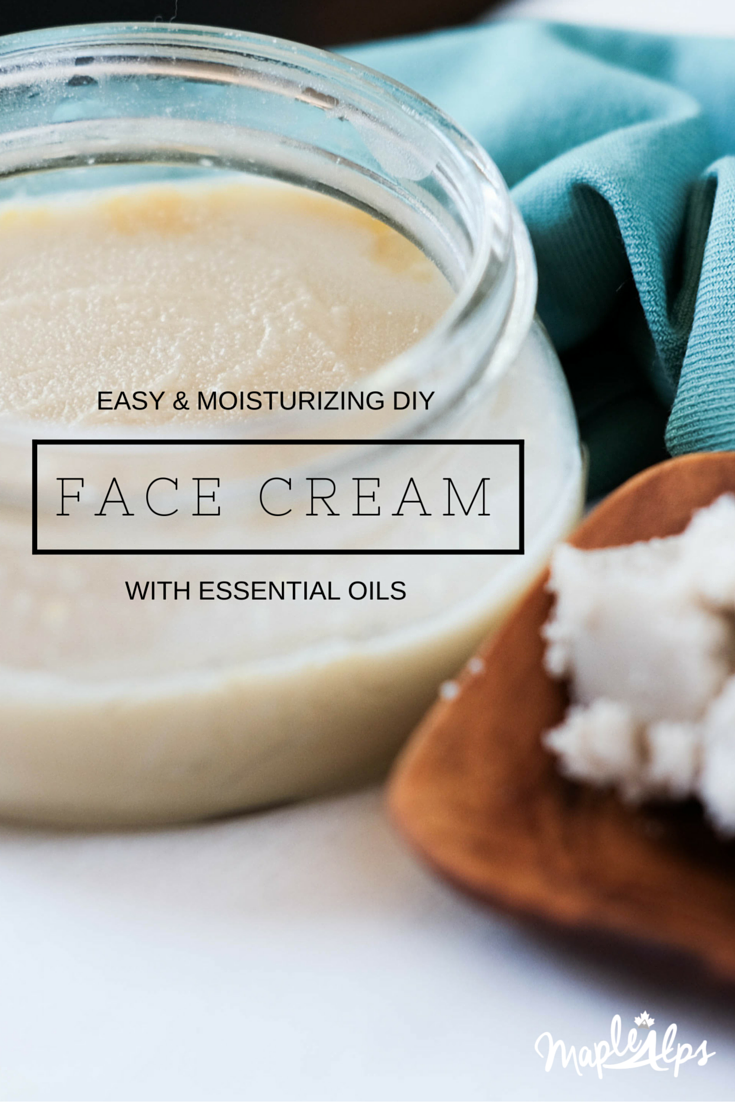
Easy DIY Moisturizing Face Cream

Natural LivingAmanda Walter | Maple Alps39 Comments

A few months ago, I became increasingly dissatisfied with the face cream I had purchased. Though claiming to be moisturizing, my skin always seemed dry just moments after its use. To top that off, I didn't particularly like the smell of it. I kept on using it though - there was no way that an $11 face cream couldn't "work" properly. The only thing it had going for it was the sweet jar it came in. It was blush pink. I like blush pink.

I finally decided to pull the plug as I became more and more frustrated and more and more aware of the harmful ingredients being put into face creams (and many other personal care items in our bathrooms!). Remember, our skin is our largest organ, so if something is toxic to eat, I'm not really excited to slather it on my body either.

Today, I share with you how I "made" my own face cream and my experiences.

This post contains affiliate links.

Easy and Moisturizing DIY Face Cream! Make in one day!

Making this face cream was so much easier than I thought! I scoured the internet looking for inspiration and everyone seemed to be using the same ingredients - the same ones you'll see over and over in my natural living posts - coconut oil and organic raw shea butter being a few. Of course, sweet almond oil was involved, as were essential oils! I love essential oils :)

Speaking of essential oils, when I first tried this out, I used lavender. My husband hates the smell of lavender though (something about moths...), so for my next batch I chose something else. Check out this post from Body Unburdened (and seriously, the rest of her website - Nadia has a wealth of information!) for a list of top essentials oils for skincare and more. Fun fact: I've used 7/10 on this list (but not all at once).

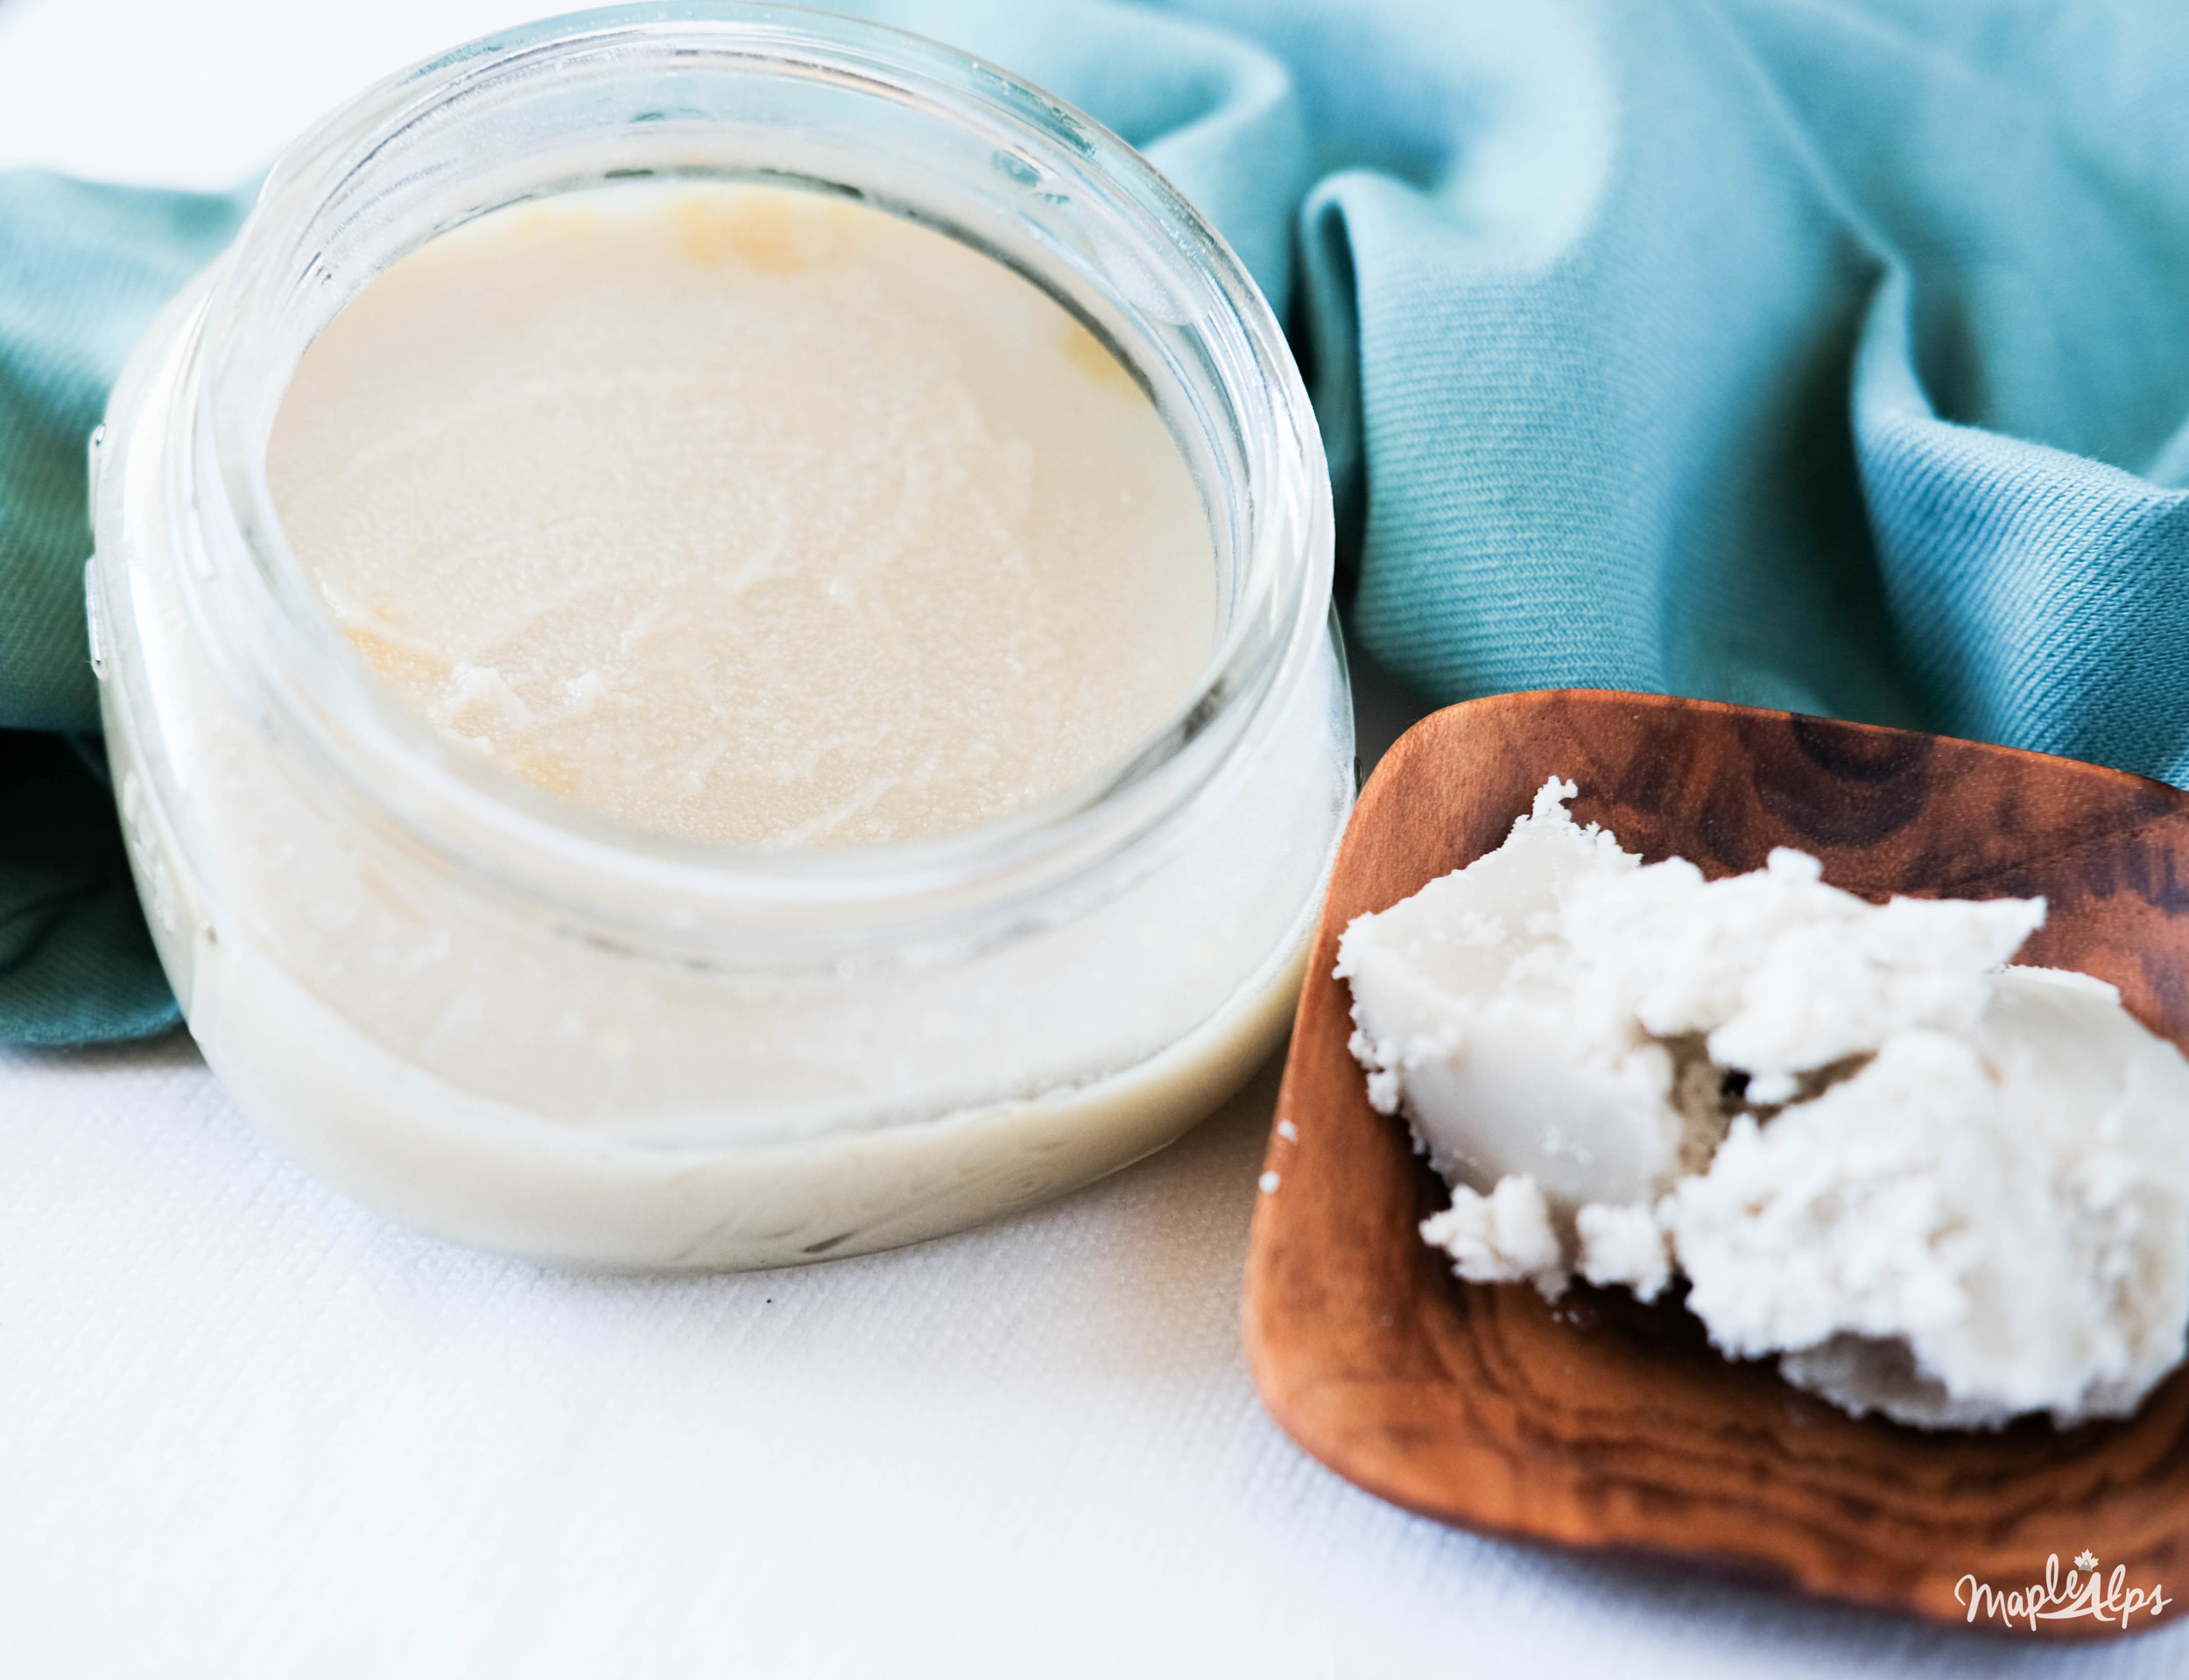
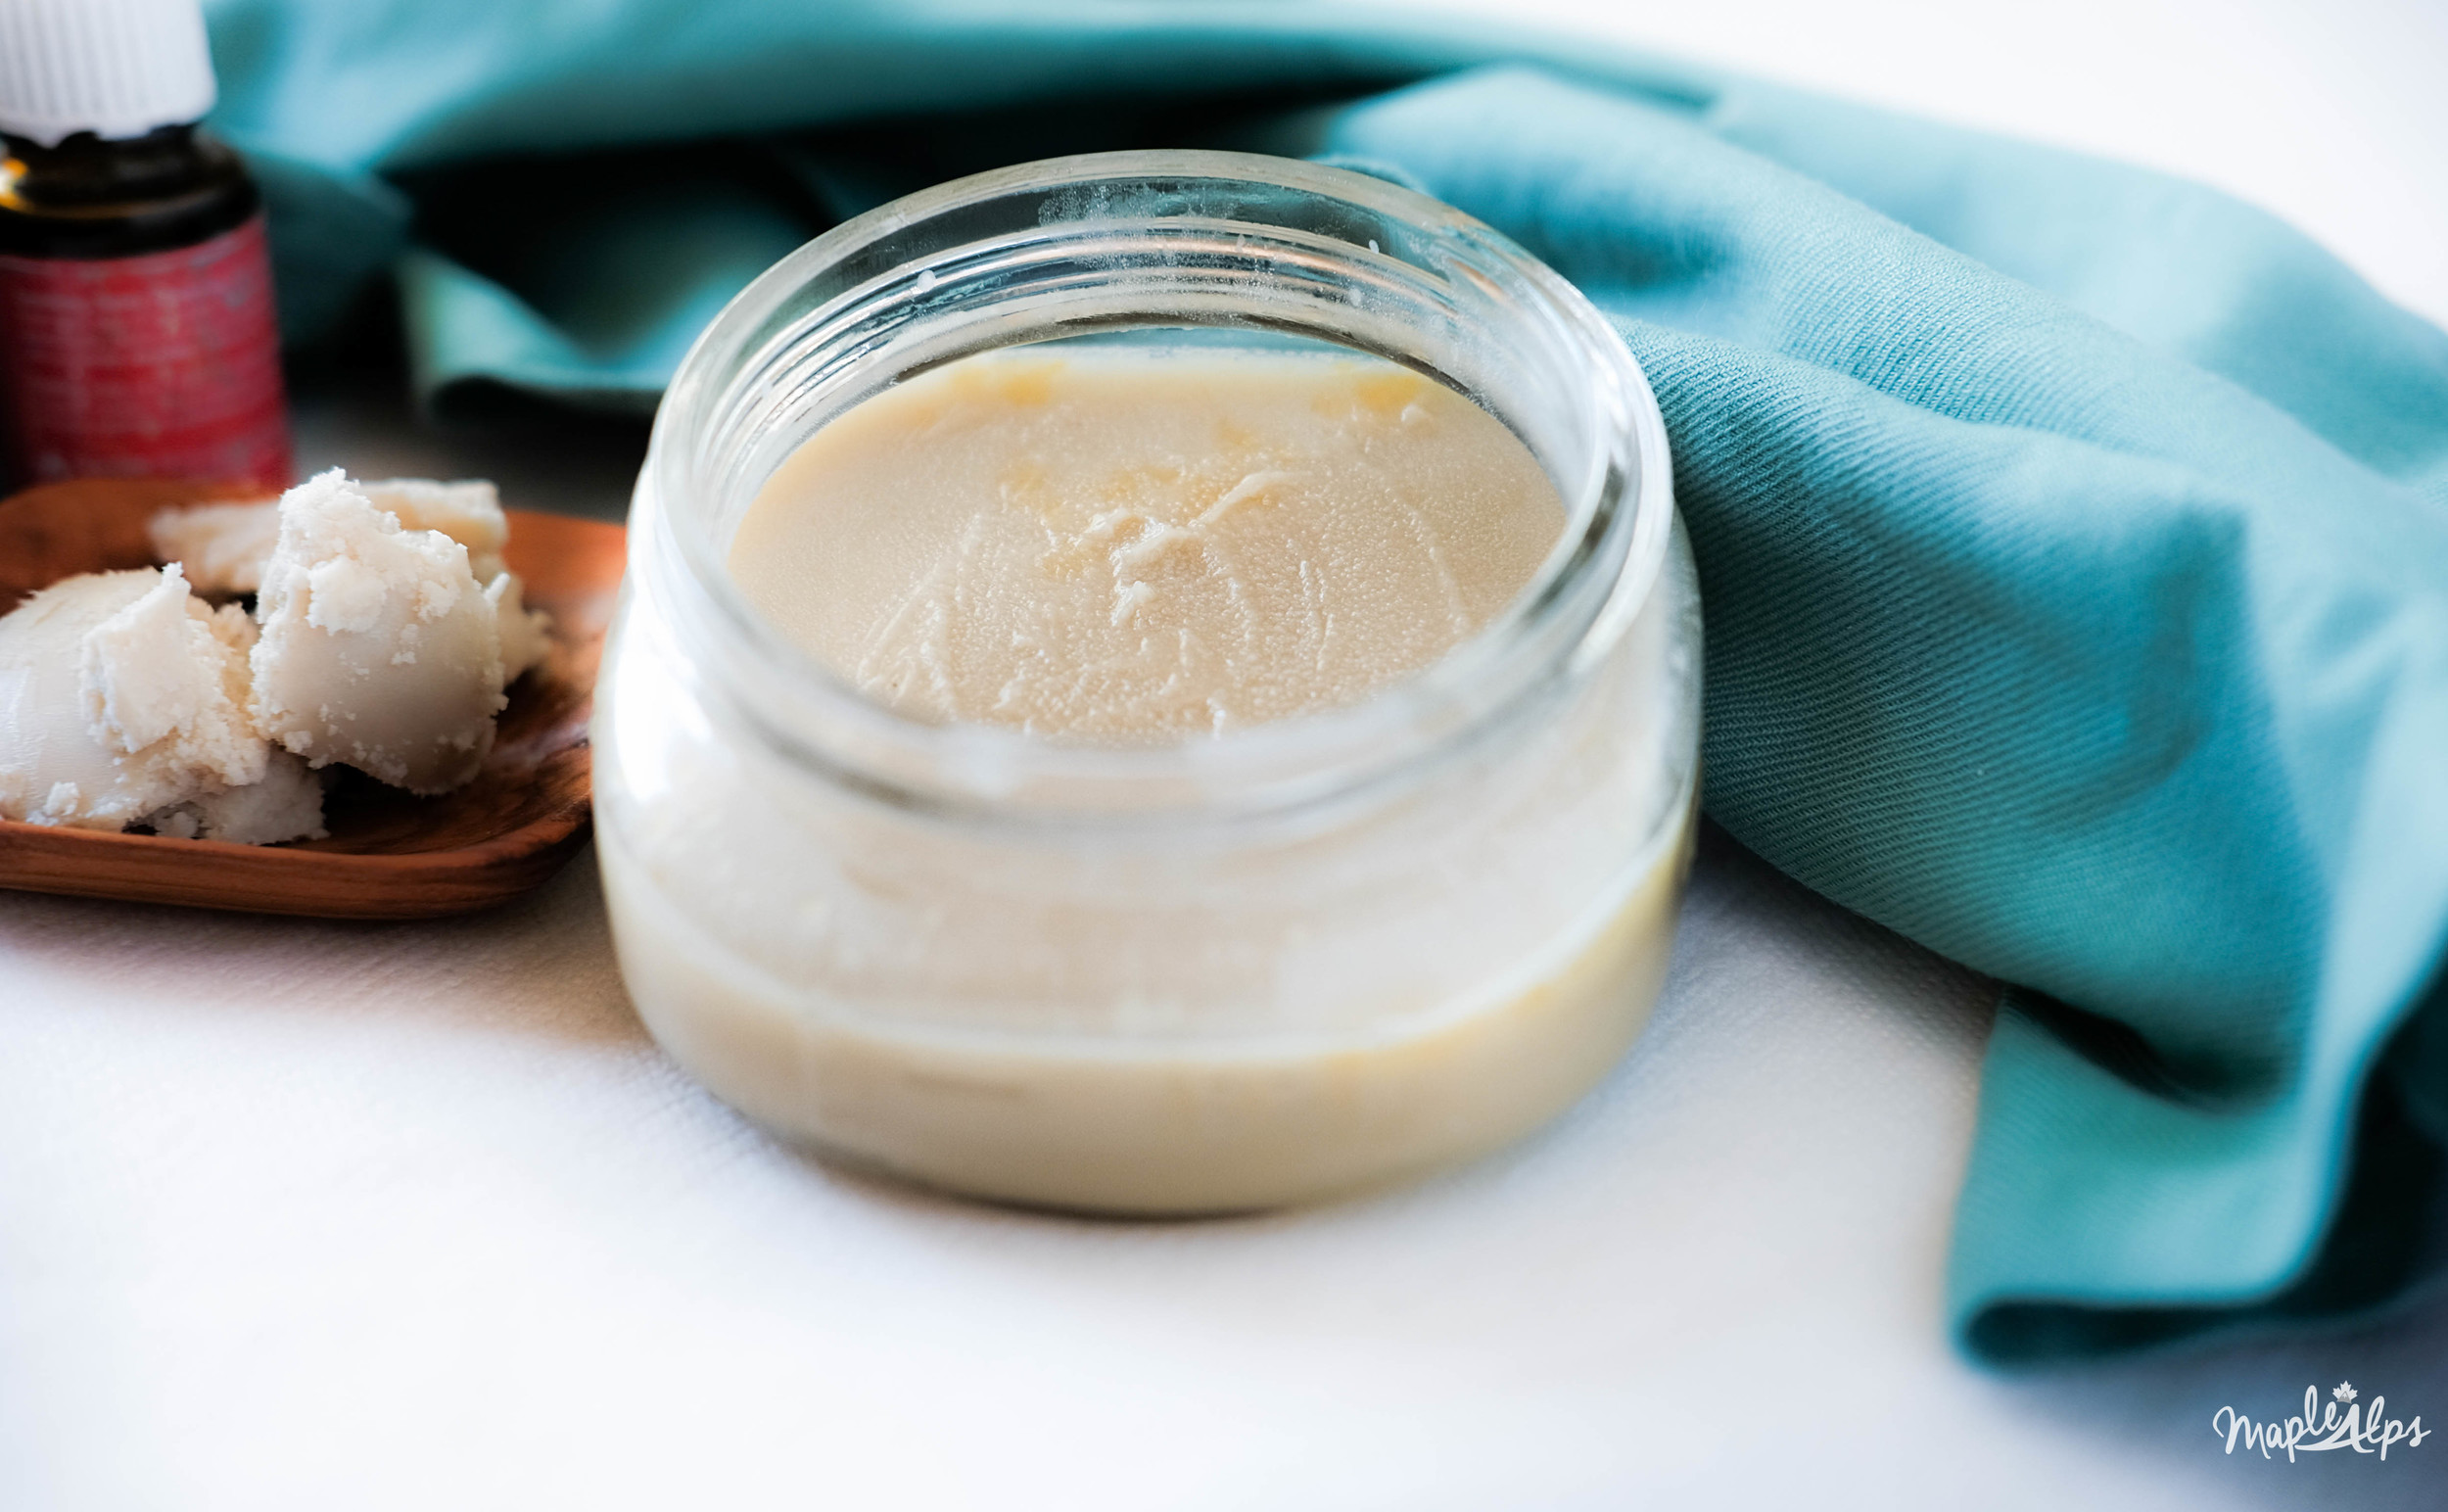
Easy and Effective Moisturizing Face Cream

At first I thought my concoction might be greasy, and though it does feel greasy as you take it on your fingers, once it's rubbed in, it isn't at all! I really appreciated that. Nothing worse than walking around with a shiny face all day...

I've been using this face lotion for several months now, and I have to say that it's one of the best I've used for my skin (I have really dry skin). I was impressed from the first time I smeared it on my face! It made the winter a bit more forgivable, and the cream (and drinking plenty of water) helped my skin stay hydrated.

I fully intend to try out a different lotion recipe, but for now, this is what I use. Never again will I spend $11 on face cream.

Quick and Easy DIY Moisturizing Face Cream!

1 TBSP Shea Butter
1 TBSP Coconut Oil
1/2 tsp Sweet Almond Oil (I've also tried with Vitamin E Oil)
2 tsp Beeswax Pellets
5-10 Drops Essential Oils

1) Melt shea butter, beeswax, and coconut oil using the double boiler effect (small bowl or jar in a pot with water) on low heat.
2) Once melted, remove from heat and stir in the sweet almond oil. 
3) Add essential oils and allow to solidify (I let it sit for 24 hours).

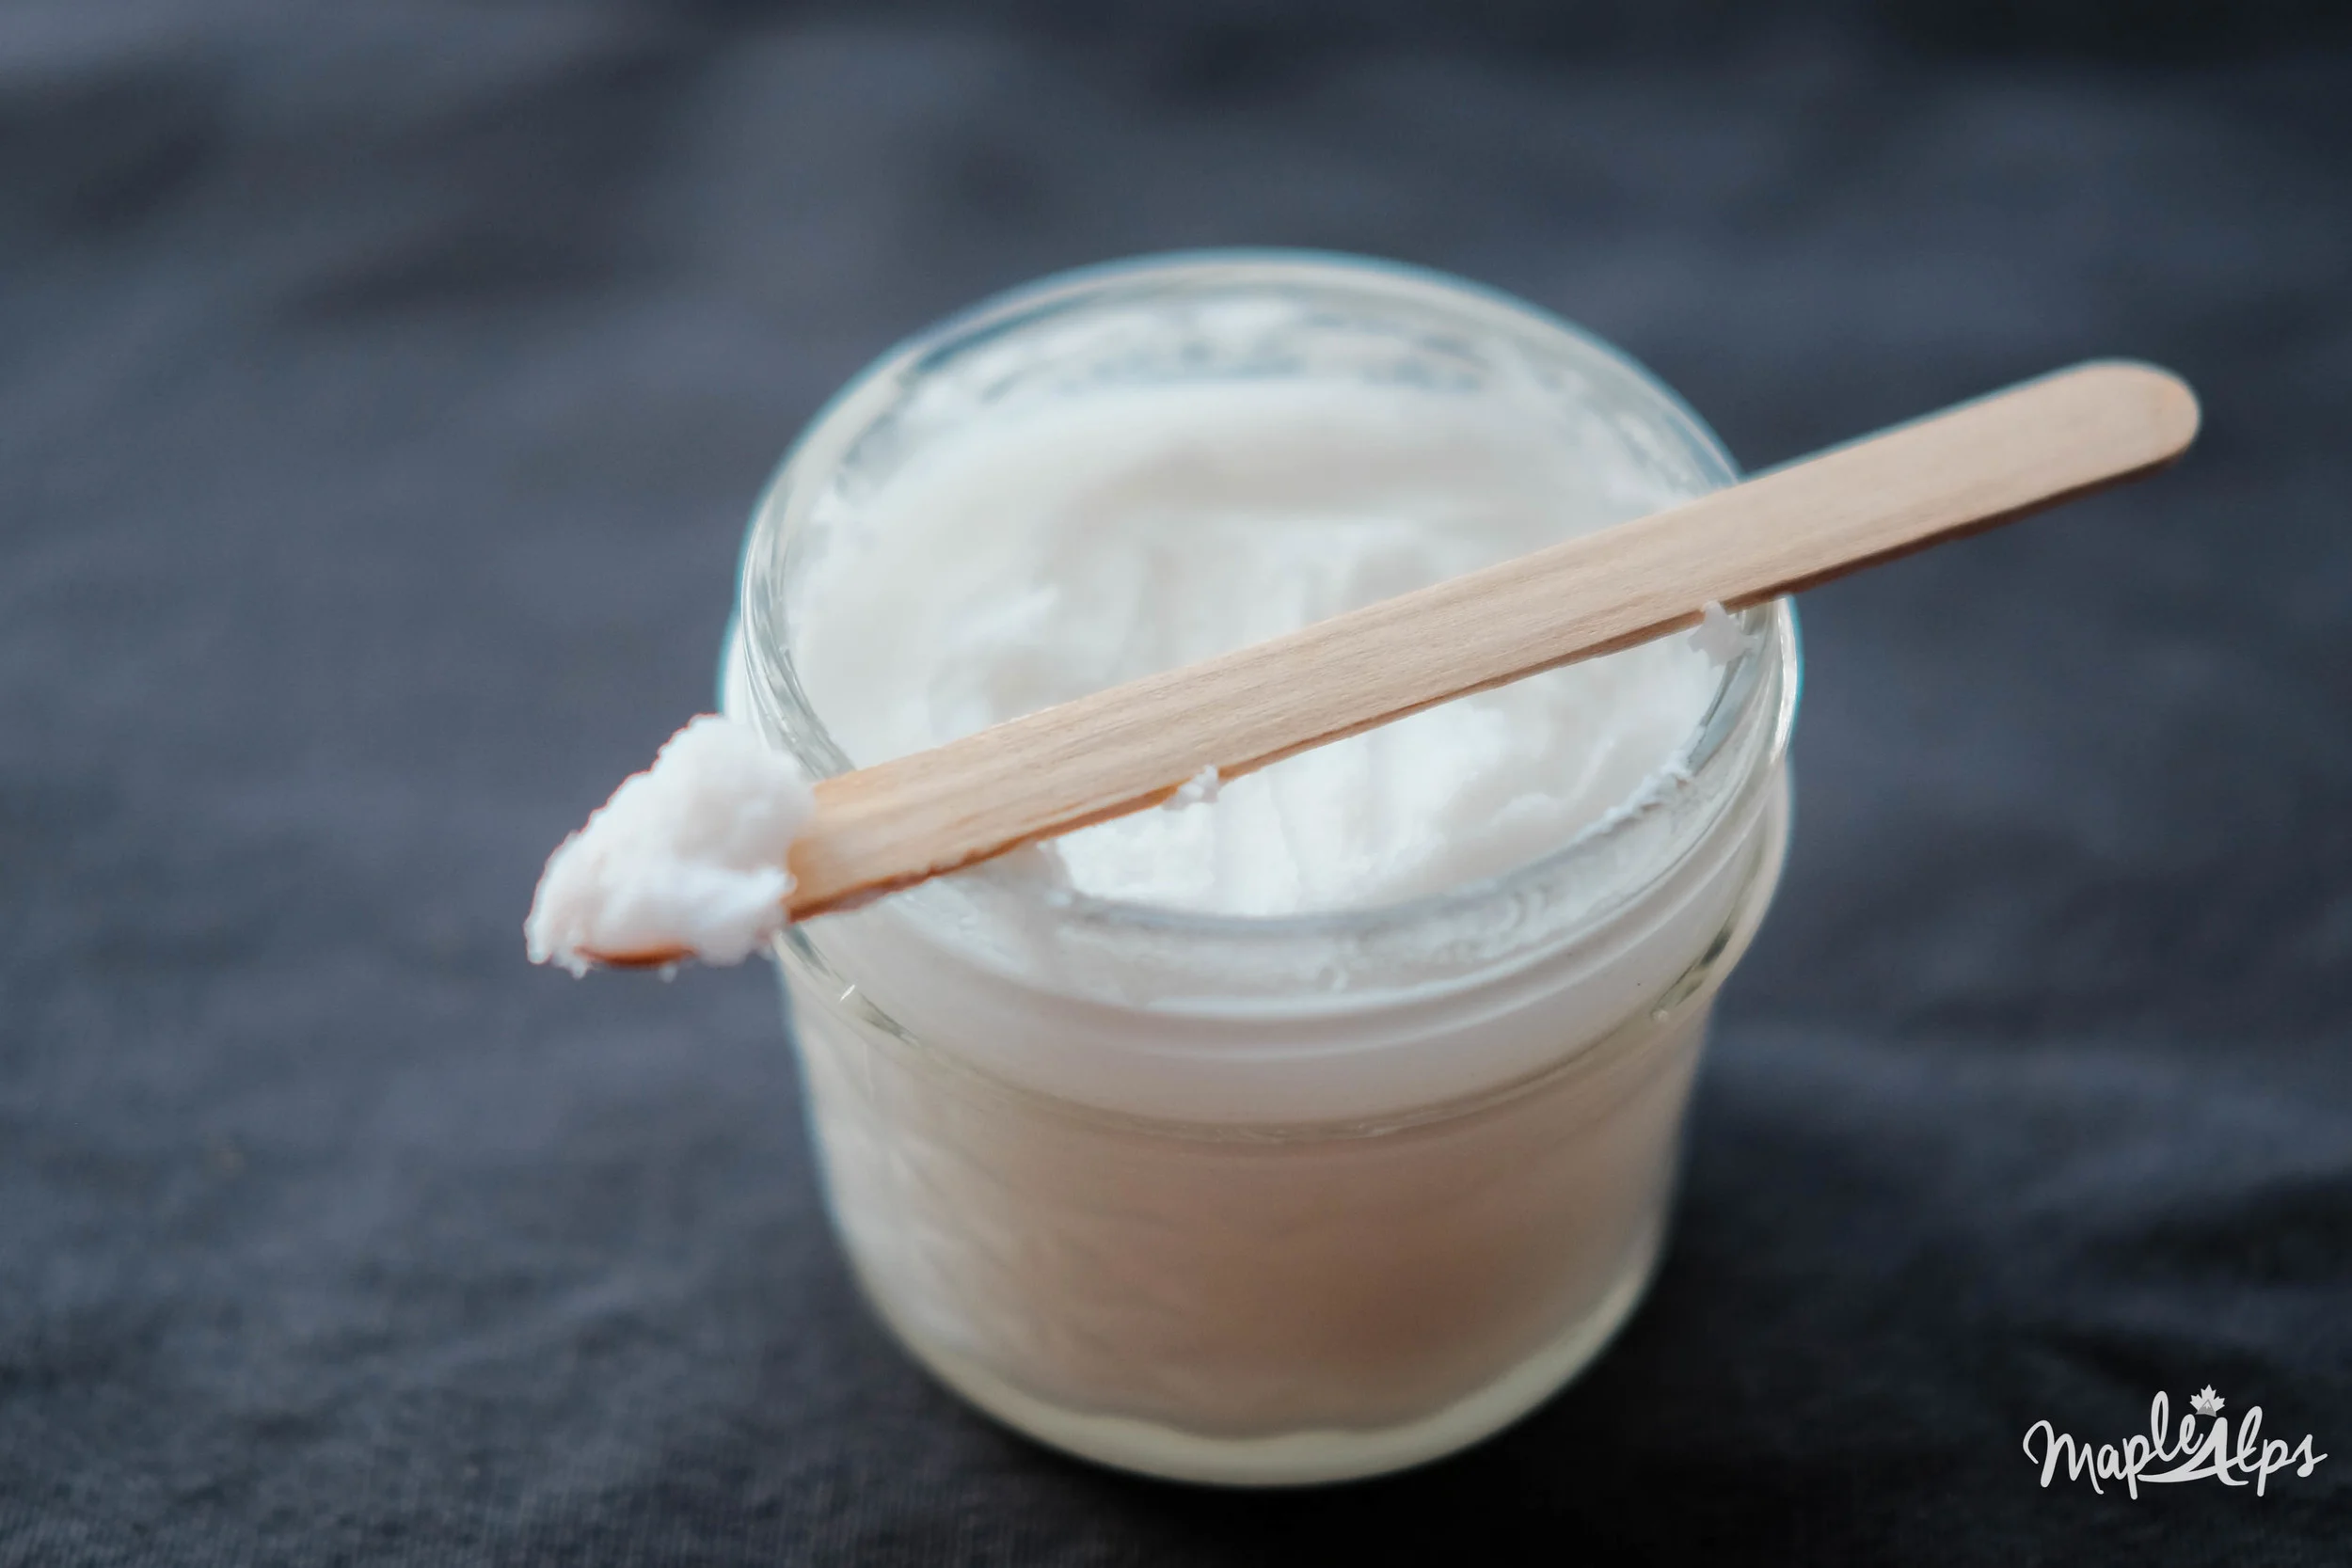
**Note: Once set, if you stir it with a popsicle stick, you will get a more "lotion-like" texture!


Easy and Moisturizing DIY Face Cream. So easy and with essential oils!

There you have it! A super easy and natural face cream! That wasn't hard at all, was it? Next week, I'll be back with another DIY I've been testing out to share with you! I've had several on my shelf that I'm excited to write about! 

Now it's your turn. What do you think? Would you try this easy face cream? Why or why not? Comment below!
 

DIY Body Wash

Natural LivingAmanda Walter | Maple Alps22 Comments

A few days ago, I wrote about making and using do it yourself (DIY) hand soap. I talked briefly about the chemicals found in our soap products and about the benefits of castile soap and other natural ingredients. After I finished my experience with the hand soap, I thought to myself, "why not take it a step further? Sure, you're letting less toxins in through the skin of your hands, but what about the rest of your body?"

I knew it was time to try body wash. 

This post contains affiliate links.

Easy and Moisturizing DIY Body Wash! Super easy and no chemicals added!

Our skin is the largest living and absorbing organism we have! Imagine what might happen long term if we eliminated these harsh chemicals, or imagine if we continued using them...

Here's a little recap from my post about hand soap:


Triclosan (and even small amounts of it) is the most discouraged additive to soaps and hand sanitizers. Not only is it bad for humans (even low levels can lead to thyroid issues, etc.), but once it gets into the environment (waste water treatments can't remove all of it), it is harmful to aquatic life. 
Avoid fragrance. FDA laws allow the word "fragrance" on our labels to include whatever the product makers want. I don't even want to know the kinds of toxins that are included under that umbrella.
Sodium Lauryl Sulfate. There it is again. We talked about this in my toothpaste post, but apparently it's common in shampoos and soaps - basically anything that foams. It's the active ingredient in industrial strength soaps and garage cleaners. I would write more, but there's lots to say - I really read a lot about it. One helpful article I found was here.


I didn't want to take any chances, so I went ahead and made my own body wash too! Nothing wrong with that, right? Honestly, I made fun of myself a little bit, but it was a good time. 

Again, it was worth the cost and took less time than driving to the store to get some.

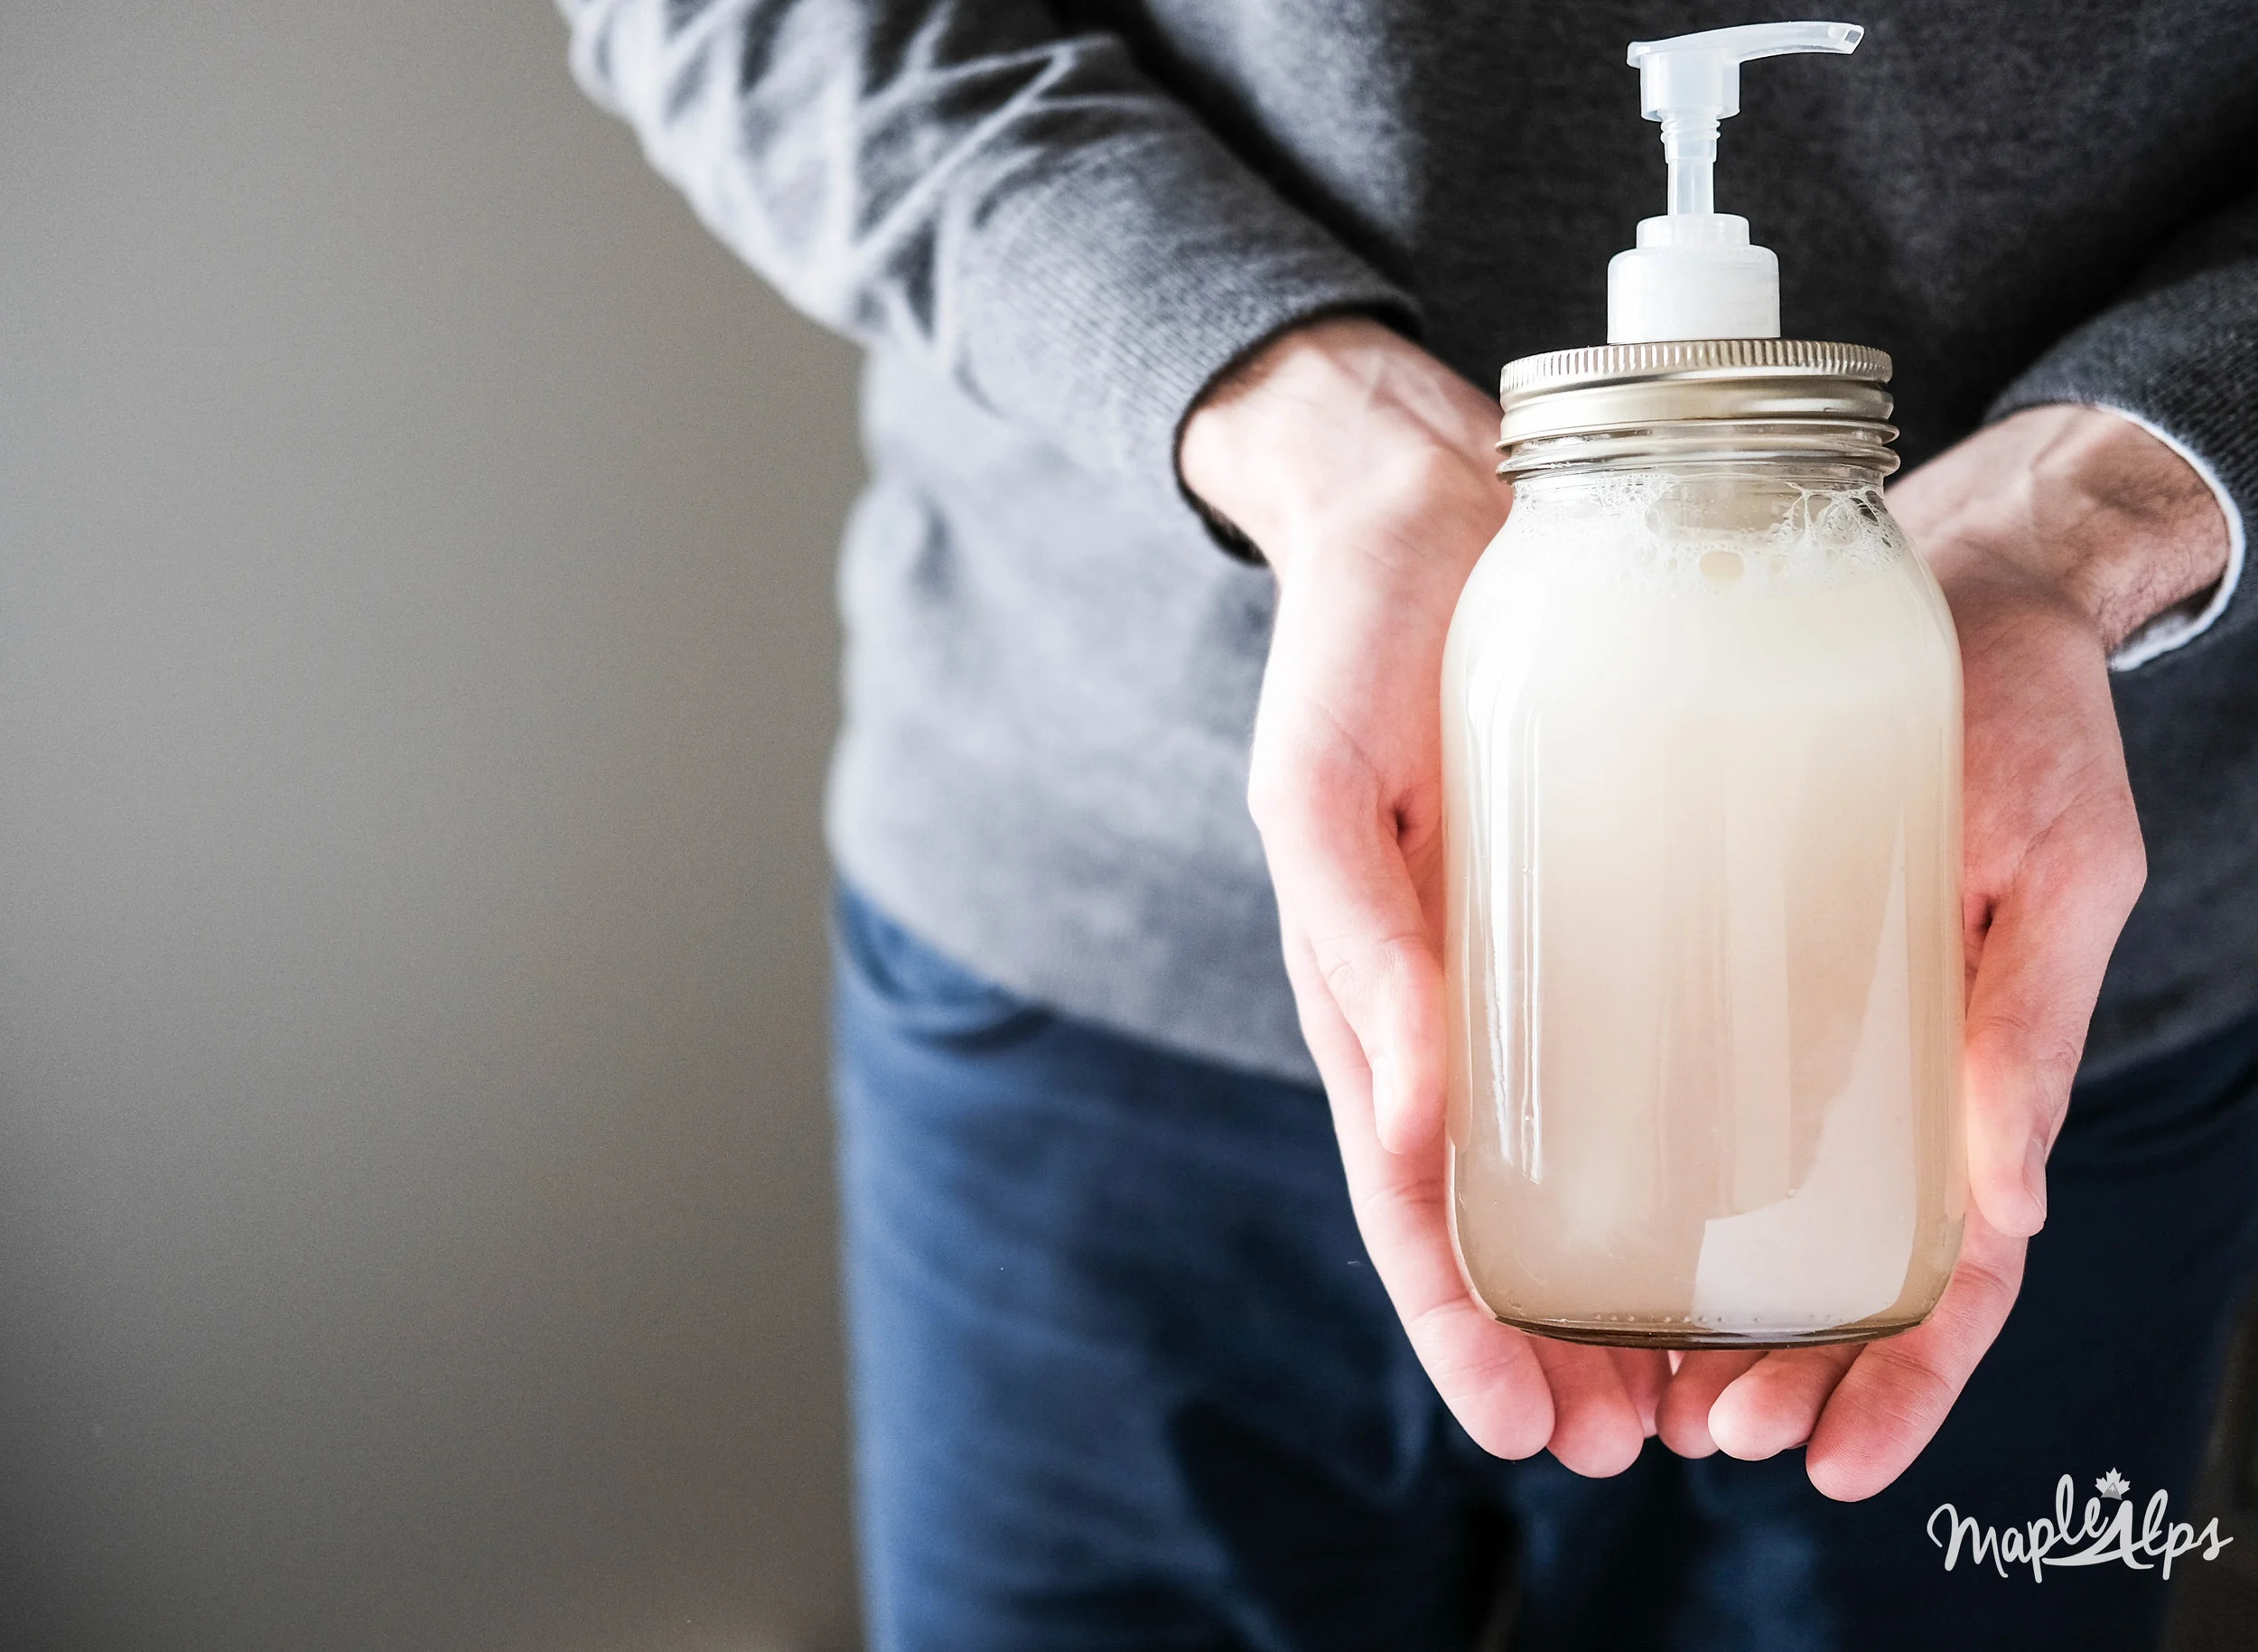
Another shout out to J for modelling! How talented is he?!

DIY Body Wash

I decided on a glass mason jar and pump attachment to avoid having to open and close a container every time. It was easy to use. Just one pump onto a loofah, lather it up, and you're good to go!

After using the body wash, I found the same thing to be true of my skin as I did with the hand wash - I felt moisturized and clean. I would also like to add that I smelled good post shower. :)

I can't wait to experiment more! 

What you need:

  • 1 cup Castile Soap (I use this Castile Soap brand from Amazon)

  • 1 cup Distilled Water

  • 4 TBSP Sweet Almond Oil

  • 2 tsp Vitmin E Oil

  • 20-30 drops Essential Oil of  Your Choice*

    *I used peppermint. If you use a citrus oil, be careful of the sun - I read that citrus oils could increase your skin's sensitivity to the sun

What to do:

1) Combine all the ingredients in a container (I use a large glass mason jar) and shake gently to mix.

2) To use, add a pump to a bath sponge or loofah.


I'll be sure to update you if I find something that works even better, but I am completely satisfied with what I conjured up here! 

Did you try the hand soap? Do you think you'll try this too?


Natural Living-6.png
 

I Quit Toothpaste for Two Months. Here's What Happened.

Natural LivingAmanda Walter | Maple Alps52 Comments

To me, toothpaste is one of those things that proves your adulthood. I have always said that one wasn't a true grown-up until they had to buy their own toilet paper and toothpaste. I rarely did either until last year - I would ask for a few tubes from home while packing my suitcases (I only needed 2 for a school year), and if you've read my post about saving money in school, you'll know that I used public toilets as much as possible. What I did know about toothpaste, however, was that my mom always bought the kind in smaller tubes with less ingredients and the higher price (funny how that works...). There are many unnecessary and even harmful ingredients found in stores today, so I always followed suit and bought the four or five dollar tubes. 

This particular endeavour all started the day we ran out of Tom's. Running out wasn't the problem. The problem was that I didn't really want to go and buy any more. It did create opportunity, however: I had been talking about making my own toothpaste - just to try it out. Now I had the perfect excuse to go through with it.


Today, I get to share with you how I did with the first two months of this experiment.

This post contains affiliate links

DIY Toothpaste could be for you! Eliminate extra toxins from your home.

First off: Why bother? Well, I mentioned the harmful and unnecessary ingredients in many toothpastes on the shelf. Here are a few:

Triclosan, which is a pesticide and disrupts hormones.

Sodium Lauryl Sulfate (SLS), which actually can cause canker sores! 

Fluoride, which can be toxic, and is not necessary in toothpaste

Artificial Colourings to make it blue or green - unnecessary!

Titanium Dioxide makes toothpaste white, but that's about it. 

Glycerin which makes the toothpaste pasty, but strips your mouth of the natural protective mucous and coats your teeth, which prevents them from remineralizing (think: cavity fighting gone wrong). Also, glycerin is found in soap, so that's weird...

Other abrasive ingredients that harm your  teeth!

After some research of ingredients and recipes, I decided to go ahead and proceed with a simple concoction of coconut oil, baking soda and peppermint essential oil. Why?

Coconut Oil can naturally prevent candida in the mouth and allegedly beats bacteria and bad breath

Baking Soda helps maintain a good pH in our mouths - we're constantly sabotaging it with acidic foods - and protects our enamel from resulting decay.

Essential Oils help fight plaque and gingivitis (paired with brushing and flossing, of course).

DIY Toothpaste

Day one was a pleasant surprise - for me anyway... I at least knew to expect certain things, like the saltiness of the SODIUM Bicarbonate (I just didn't get it on my tongue until I absolutely had to) and the no suds. My husband, on the other hand, was a little disappointed about the whole thing. He didn't feel it would give him good breath since it wasn't stinging (his words, not mine). I find Tom's peppermint a bit strong anyway, so I was more than content. The next morning, he refused to brush his teeth with it because he didn't want to risk morning breath - which I understand, seeing as how he needs to talk to people all day. I had no morning breath left when I was done, in case you were wondering... :)

In all honesty, it's not going to taste like the toothpaste you're used to. Once you embrace the fact that it's something completely different, it will be easier to wrap your head around. 

DIY Toothpaste

After a few weeks of this toothpaste, I realized several things:

  • It was hard to travel with (kind of heavy and inconvenient in the jar) [Update: acrylic containers work really well for it]

  • My husband did not like the taste (understatement of the century, perhaps?)

  • I felt like my teeth were cleaner (probably all in my head, but still!)

  • Garlic/onion breath was way easier to conquer (a giant plus, since I LOVE garlic)

I decided to try an accommodate my husband by adding xylitol, which after some research I found, is a natural sweetener that has been proven to fight cavities (I'm still a bit weary of it, but you can read more about it here. I modified the recipe to accommodate it. I read that adding too much might make you start craving sweets, so I was very modest with it.

DIY Toothpaste

After adding xylitol, I decided that I preferred it without. Adding the sweet confused my tastebuds since the baking soda taste was still evident.

I have yet to find my perfect DIY toothpaste, though what I'm using now, I quite like! I'm going to the dentist this week, and not to sound overly excited or anything, but I bet they're going to be impressed with how squeaky clean my teeth are :)

And on that note, I have had a dentist tell me baking soda was good to clean your teeth with. So I guess that’s good?

DIY Toothpaste

Want to make your own? Here's a recipe:

What you need:

  • 3 TBSP Coconut Oil

  • 1-2 TBSP Baking Soda

  • 10-15 Drops Peppermint Essential Oil

  • (optional) 1 TBSP Xylitol (ground in food processor till fine for easier dissolving)

  • Toothbrush (I love using a bamboo toothbrush!)

What to do:

1) Melt coconut oil (I use double boiler effect: small bowl or jar in a pot with water) on low heat.

2) Once heated, remove from heat stir in baking soda. 

3) Add xylitol (optional - try this one from Amazon) and mix well.

4) Put in essential oils and allow to solidify.

5) Once solidified, you'll want to stir it up a but to create a smoother texture, and to better mix it, as the baking soda may have settled to the bottom.


I know that there are plenty of natural toothpastes out there, but if I can make an equally good one for a fraction of the price with [non toxic] items I have at home already, I would prefer that! I'm going to keep trying different toothpastes until I find one I absolutely love. You know I'll be back to share it then.

What about you? What do you think about making your own toothpaste? Want to try this one out? Do you already make toothpaste? Have any tips? Let me know in the comments below!


Update: I have since found a recipe I like even better!! Find out more about it here