Maple Alps

Natural Living

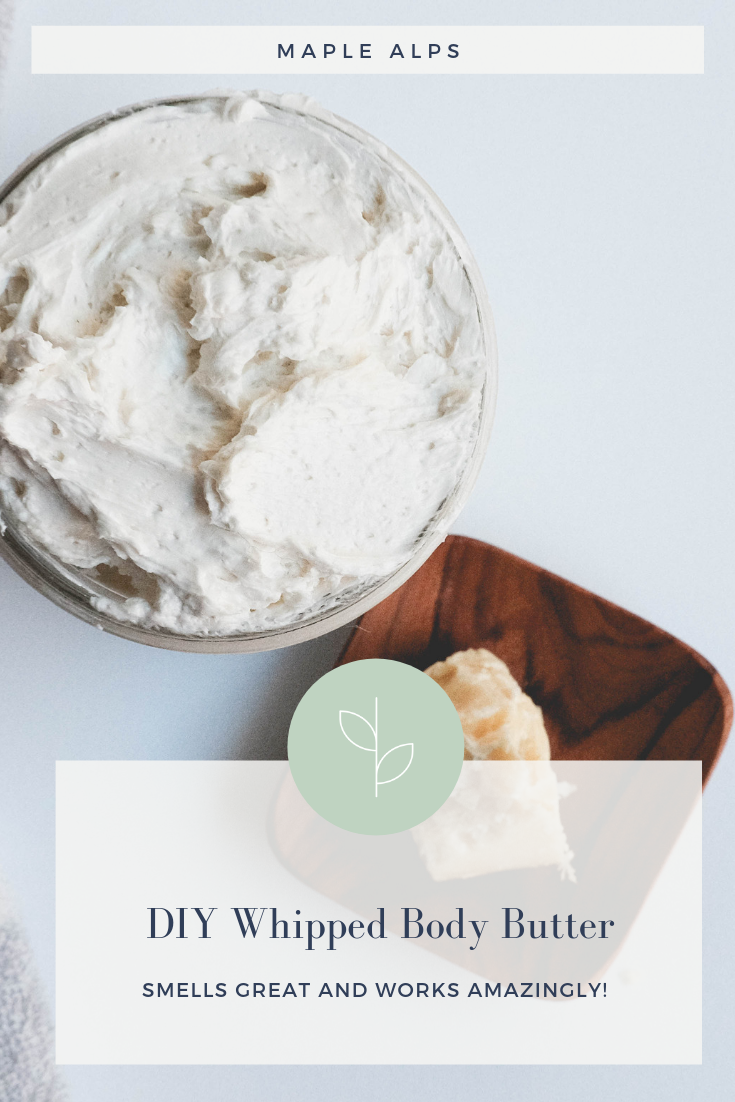
Luxurious Whipped Cocoa Body Butter

Natural LivingAmanda Walter | Maple Alps11 Comments

It finally happened. I ran out of my precious Body Shop body butter. Let me tell you about this butter: I've been using it for YEARS, and since my favourite flavour is blueberry, I would wait till it came out every year, and then buy enough to last me a year. And that is all I would use. Because lotion never cut it for me. Plus, who can resist those blueberry fumes?! Not this girl.

Well, that is until I found cocoa butter, smelled it, and figured out it was WAY cheaper to make my own amazing body butter - plus I didn't have to wait a year to find my favourite flavours!

This post contains affiliate links.

Luxurious Whipped Cocoa Butter Body Butter

It amazes me how far I've come in my quest for homemade and natural alternatives for every-day essentials. I've always been a fan of being more on the natural side, but never in my wildest dreams would I have seen myself making my own products to save money and save myself from the chemicals that are lurking in many toiletries on grocery store shelves - the ones I've been using for a long time! 

Luxurious Whipped Cocoa Body Butter | www.maplealps.com

I vowed that once my blueberry body butter ran out, I would make the switch to homemade, and let me tell you: I've not yet looked back!

This body butter is so smooth, soft, luxurious feeling and SMELLS AMAZING. It also feels so great and does not feel greasy at all. It's also super easy to make, and easy on my wallet.

I'm confident it will be a perfect moisturizer as Winter makes it's way here. 

Luxurious Whipped Cocoa Body Butter | www.maplealps.com

1/2 C Cocoa Butter (I used this one)
1/2 C Shea Butter
1/2 C Coconut Oil
1/2 C Sweet Almond Oil

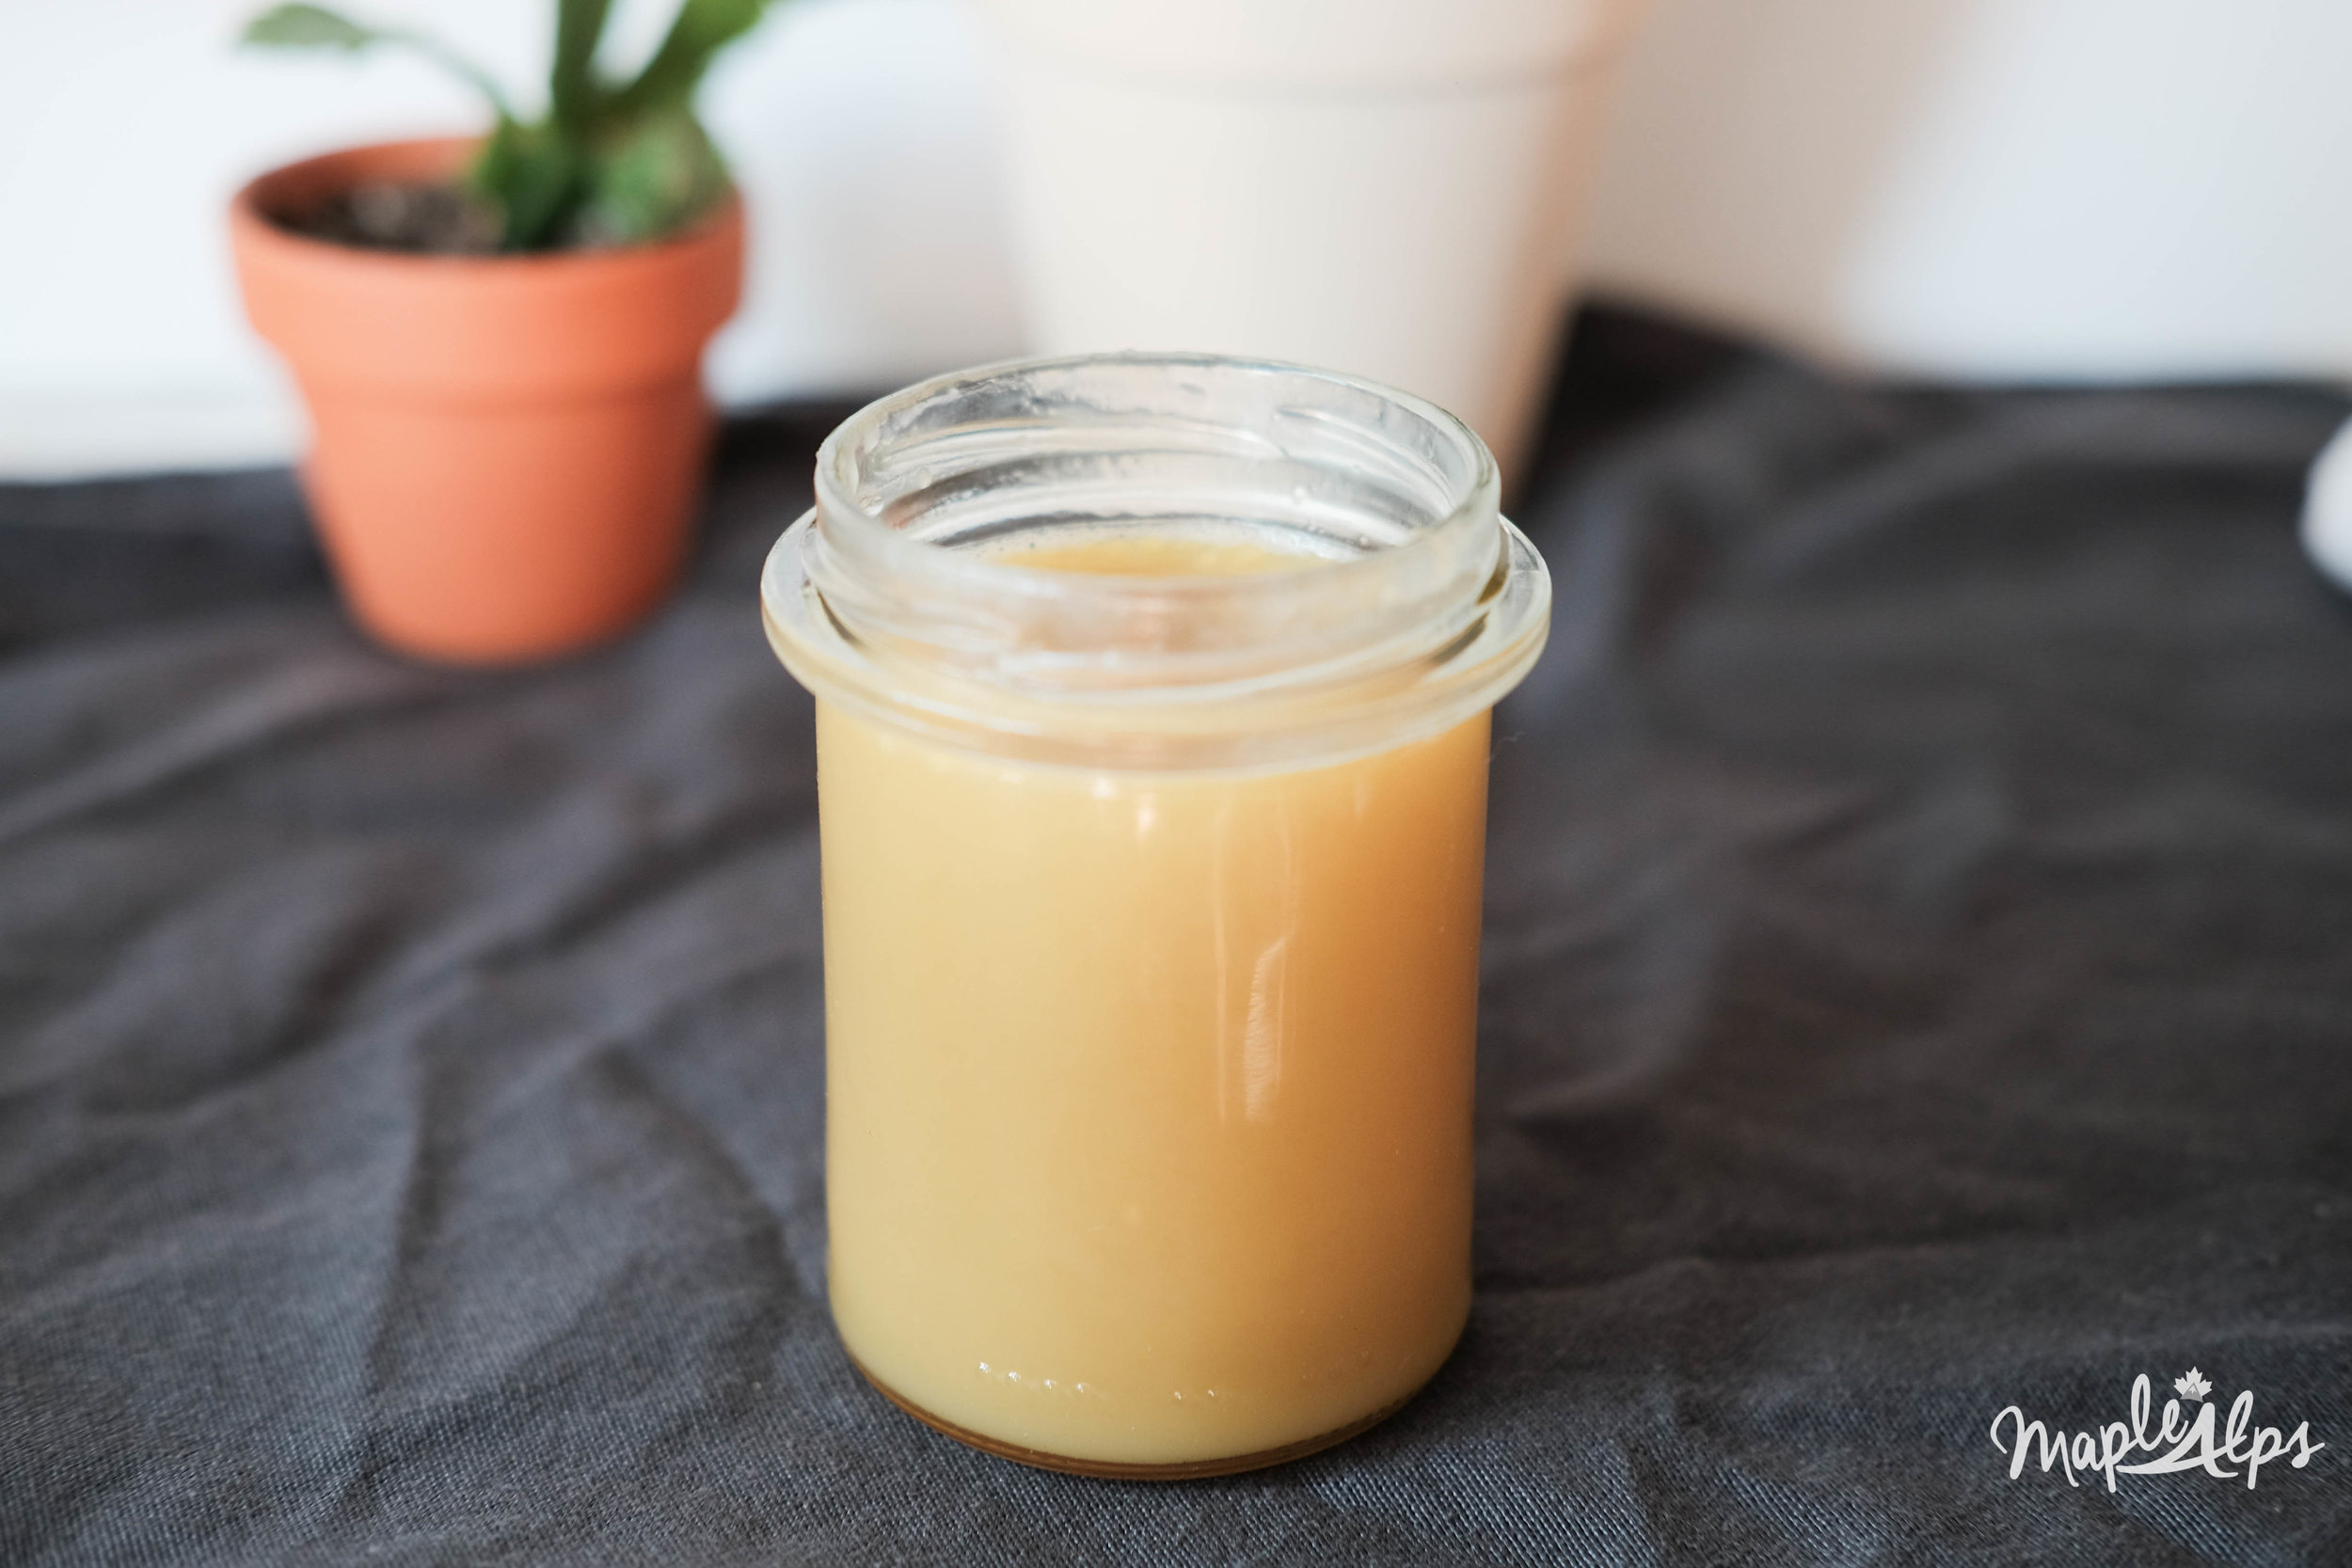
1) Using double boiler, melt everything together.
2) Add to mixing bowl and place in the fridge until solid, but still soft (about 50-60 minutes).
3) Using electric hand mixer, whip mixture until light and fluffy.
4) Transfer to glass jar and store in cool place. 

Note: mixture will hold texture perfectly fine at 75 degrees F (about 24 degrees C) and below.


Needing a new body butter to prepare for Winter? Ever tried making your own?

 
Luxurious Whipped Cocoa Body Butter | www.maplealps.com

DIY Natural Toothpaste

Natural LivingAmanda Walter | Maple Alps51 Comments

You probably remember my last post about toothpaste, where I told about the dangers of commercial toothpaste and had tried to make my own for a few months just to see how it would be. Well, consider this a sort of update, because I now use a new recipe. I’ll tell you why and what happened.

This post contains affiliate links.

DIY Whitening Toothpaste; easy and all natural | www.maplealps.com

I’m still convinced that commercial toothpaste does more harm than good. As a matter of fact, my dentist told me that toothpaste is not even necessary. The hygienist recommended baking soda or just plain nothing and assured me that it was perfectly safe.

I had a good few months with the original toothpaste recipe, but once the summer got hot, I noticed fairly quickly that every time I went to the washroom to brush my teeth, my new amazing toothpaste was in liquid form! Keeping it in the fridge was annoying, because unless I remembered to take it out a few minutes before I was ready to brush, it was a solid chunk that I could not be broken down. Imagine my frustration!

I decided I wanted something a bit more pasty - something I could maybe even put in a tube to transport easier and use (since we travel often). After some research, I opted to try bentonite clay for it’s many benefits. Here are just a few:

Benefit One: healing and detoxing properties

Benefit Two: high concentration of minerals like calcium, silica, potassium, iron and magnesium

Benefit Three: alkalizing effect on the body

DIY Whitening Toothpaste; easy and all natural | www.maplealps.com

I came across an amazing article by Wellness Mama that you can read here for a more in-depth look at bentonite clay, it's properties, and a whack ton of uses! 


I added activated charcoal for some whitening power. I don’t know that I’ve necessarily seen a difference, and I only added a bit for fear of it being too abrasive, but I have heard good reports from others I know personally who use it. It's perfectly fine without the charcoal too.

This version of toothpaste is one I can definitely recommend. It was easy to make (no double boiler required), easy to put in a tube, tasted just fine, and felt more like toothpaste. The best part is that it doesn't melt in the summer heat, so I had squeaky clean teeth the whole season! 

DIY Natural Toothpaste

2 TBSP bentonite clay
4 TBSP distilled water
15 drops peppermint essential oil
1/2 tsp baking soda
1/4 tsp activated charcoal (optional) 

Put dry ingredients and add water slowly until your desired paste consistency forms. Add essential oils and mix well.

Note: Be sure the clay does not come into contact with metal. Use glass containers and wooden or plastic to mix.


UPDATE: By the way, I have been loving using bamboo toothbrushes! There are so many different companies and I’ve tried two that I like so far! These ones are great too!

I have found that this works amazingly well and leaves my breath fresh and minty, and most importantly, my teeth clean! Just make sure to rinse your mouth out well when you're done! Oh, and don't forget to floss ;-) 

What about you? Do you make your own toothpaste? Did you know how easy it was?


Vegan Pantry Opt In.png
 
 
DIY Natural Toothpaste | www.maplealps.com

DIY Muscle Rub

Natural LivingAmanda Walter | Maple Alps18 Comments

Sometimes, I get really excited when making up a new DIY or recipe. Today's remedy is no exception. It all started after week one of amping up my workouts to get ready for a Tough Mudder. I was sore, and I was miserable. I was also lacking in the coordination needed to apply essential and carrier oils to my sore muscles without a mess. That's when I knew it was time for a new DIY - for my soreness' sake!

Well, friends, I am happy to say that the results were as great, if not even better, than I expected! Mess-free AND effective is the real name of this easy DIY muscle rub. 

This post returns affiliate links.

DIY Muscle Rub. Easy and Effective | www.maplealps.com
 

This salve soothed my sore muscles perfectly, and I felt so much better after my long runs and hard workouts. Seriously, I do not know why I didn't consider making a balm sooner. Less mess, easier to apply with one hand, and crazy effective.

By now you can guess that I really enjoy making my own products. A lot of the ingredients I use are versatile and are found over and over again in different recipes, which I love, because it limits the amount of different things I need to purchase at one time. For this rub, I had everything I needed already in my cupboard. If you've made any of my other DIYs, you likely do too! In fact, this looks a lot like my Wonder Ointment - works great like it does too!

 
Easy, No Mess DIY Muscle Rub | www.maplealps.com
 

2 TBSP Beeswax
1/4 cup Coconut Oil
1/4 Cup Sweet Almond Oil
2 TBSP Shea Butter
10 Drops Wintergreen Essential Oil
10 Drops Peppermint Essential Oil
10 Drops Pan Away Blend Essential Oil
 

1) Melt the beeswax using double boiler (glass container in hot water in pot on stove) on LOW heat. It will take some time for it to melt completely.
2) Add sweet almond oil, coconut oil and shea butter and allow to melt.
3) Remove from heat, pour into desired jar, and stir in the essential oils.
4) Allow to harden completely

 
Easy and Effective DIY Muscle Rub | www.maplealps.com

Will you be trying this for your sore muscles? I have a feeling I might need to bring it out again soon, after a tough mudder AND a move! Let me know if you try this!


Natural Deodorant Spray

Natural LivingAmanda Walter | Maple Alps15 Comments

Hello my lovely people! So today's post is going to be a bit different, but hopefully not too smelly! As you all know, we really try to cut down the amount of harmful chemicals in our home and one way we do that is making our own products from natural ingredients. On a side note, this also really helps us save our pennies, because the natural products we make cost only a fraction of a natural product we would buy that does the exact same thing. For the past couple of months, I've been trying out different homemade deodorants, and today I will tell you why, and about one "deodorant" in particular, as well as my experience.

This post contains affiliate links

Two-Ingredient deodorant. Natural, easy and super effective! | www.maplealps.com

For years, I've heard about all the terrible things in a lot of the deodorants we find on store shelves today. One ingredient I always associated with "bad" deodorant was aluminum being linked to breast cancer, but of course I needed to find out for myself. After all, I grew up in a family that taught hygiene and that smelling good was only polite - and deodorant is a part of that. I mean, who doesn't love smelling good?! However, after some research, it appears as though aluminum is not the only negative thing about this particular product, and I should perhaps find an alternative. Of course, there are mixed reviews. Some studies show that while antiperspirant use does alter the bacterial communities in our armpits, further study is needed to show exactly what this means (February 2016 source). My conclusion is that I want to use the most natural things I can. 


A little breakdown of some common ingredients found in deodorant:


Aluminum has been a discussion for years - and not just within the deodorant/antiperspirant realm. Sweating in and of itself is actually a good thing, but aluminum compounds blocks sweat ducts (hence, antiperspirant) and has allegedly been linked to breast cancers. 
"Fragrance" is also something to avoid. I talked about this in the DIY Foaming Hand Soap post, but FDA laws allow the word "fragrance" on our labels to include whatever the product makers want. It's considered a trade secret of sorts. I don't even want to know the kinds of toxins that are included under that umbrella.
Triclosan is another one I've mentioned, and even small amounts of it is discouraged. Not only is it bad for humans (even low levels can lead to thyroid issues, etc.), but once it gets into the environment (waste water treatments can't remove all of it), it is harmful to aquatic life. It's also known to irritate the skin.
Parabens are preservatives found in many deodorants. They have been linked to breast cancer as well, with traces being found in human breast tumors. Read more about parabens and breast caner here.

I could go on, but I'm already convinced. For you, however, read about more ingredients here and find additional information here. I read both of these and found them quite enlightening. 

two-ingredient deodorant. Natural, easy and effective. | www.maplealps.com

Despite conflicting research and information, I've made the decision to use natural ingredients as much as I can. I didn't need to read more studies to convince me to make a more natural choice.


Enter: Deodorant spray.


I first came across this spray while reading one of my frequently read blogs, Sweet Simple Living, and became intrigued! I researched the ingredients Rachel used, checked out her sources, and decided that this was something I would try. 

Magnesium oil is the main ingredient in this spray. It's actually not oil at all - it only feels like oil, which is why it doesn't stain your clothes (Read more about magnesium oil from Wellness Mama, here.). An extra benefit of this deodorant spray, is that your body will get some magnesium from it as well - which could lower stress and help with your sleep! It was easy to make with magnesium flakes - dissolving them in water to create the "oil" and then adding an essential oil to it.

Magnesium Flakes | www.maplealps.com

All I had to do was put on a few sprays and let it work it's magic. I expected a little tingle, as was described by Rachel, and that really was the case. Except it was itchy and tingly. Really itchy. If you know me, however, the more painful it is, the more it must be working, so I was rejoicing and ready for the day. It stung less the more I used it, of course.

While I did find that the spray was effective, I also concluded that it was a bit...messy to use if I wasn't careful to let it dry. I found that if I put clothes on before it was absorbed, I had an "oily" shirt (Do note that it didn't stain my clothes at all. It came right out in the wash). For maximum effectiveness, I needed to apply this twice a day, which was fine, as long as I wasn't in a hurry. If I didn't bother with the second application, I didn't smell bad at the end of the day, but peace of mind is everything to me. 

1/2 C (4 oz.) magnesium flakes

1/2 C (4 oz.) distilled water (make sure it's distilled to extend shelf life)

10-15 drops essential oils (I've tried tea tree and peppermint)

1) Boil the distilled water. 

2) Add magnesium flakes and allow to dissolve

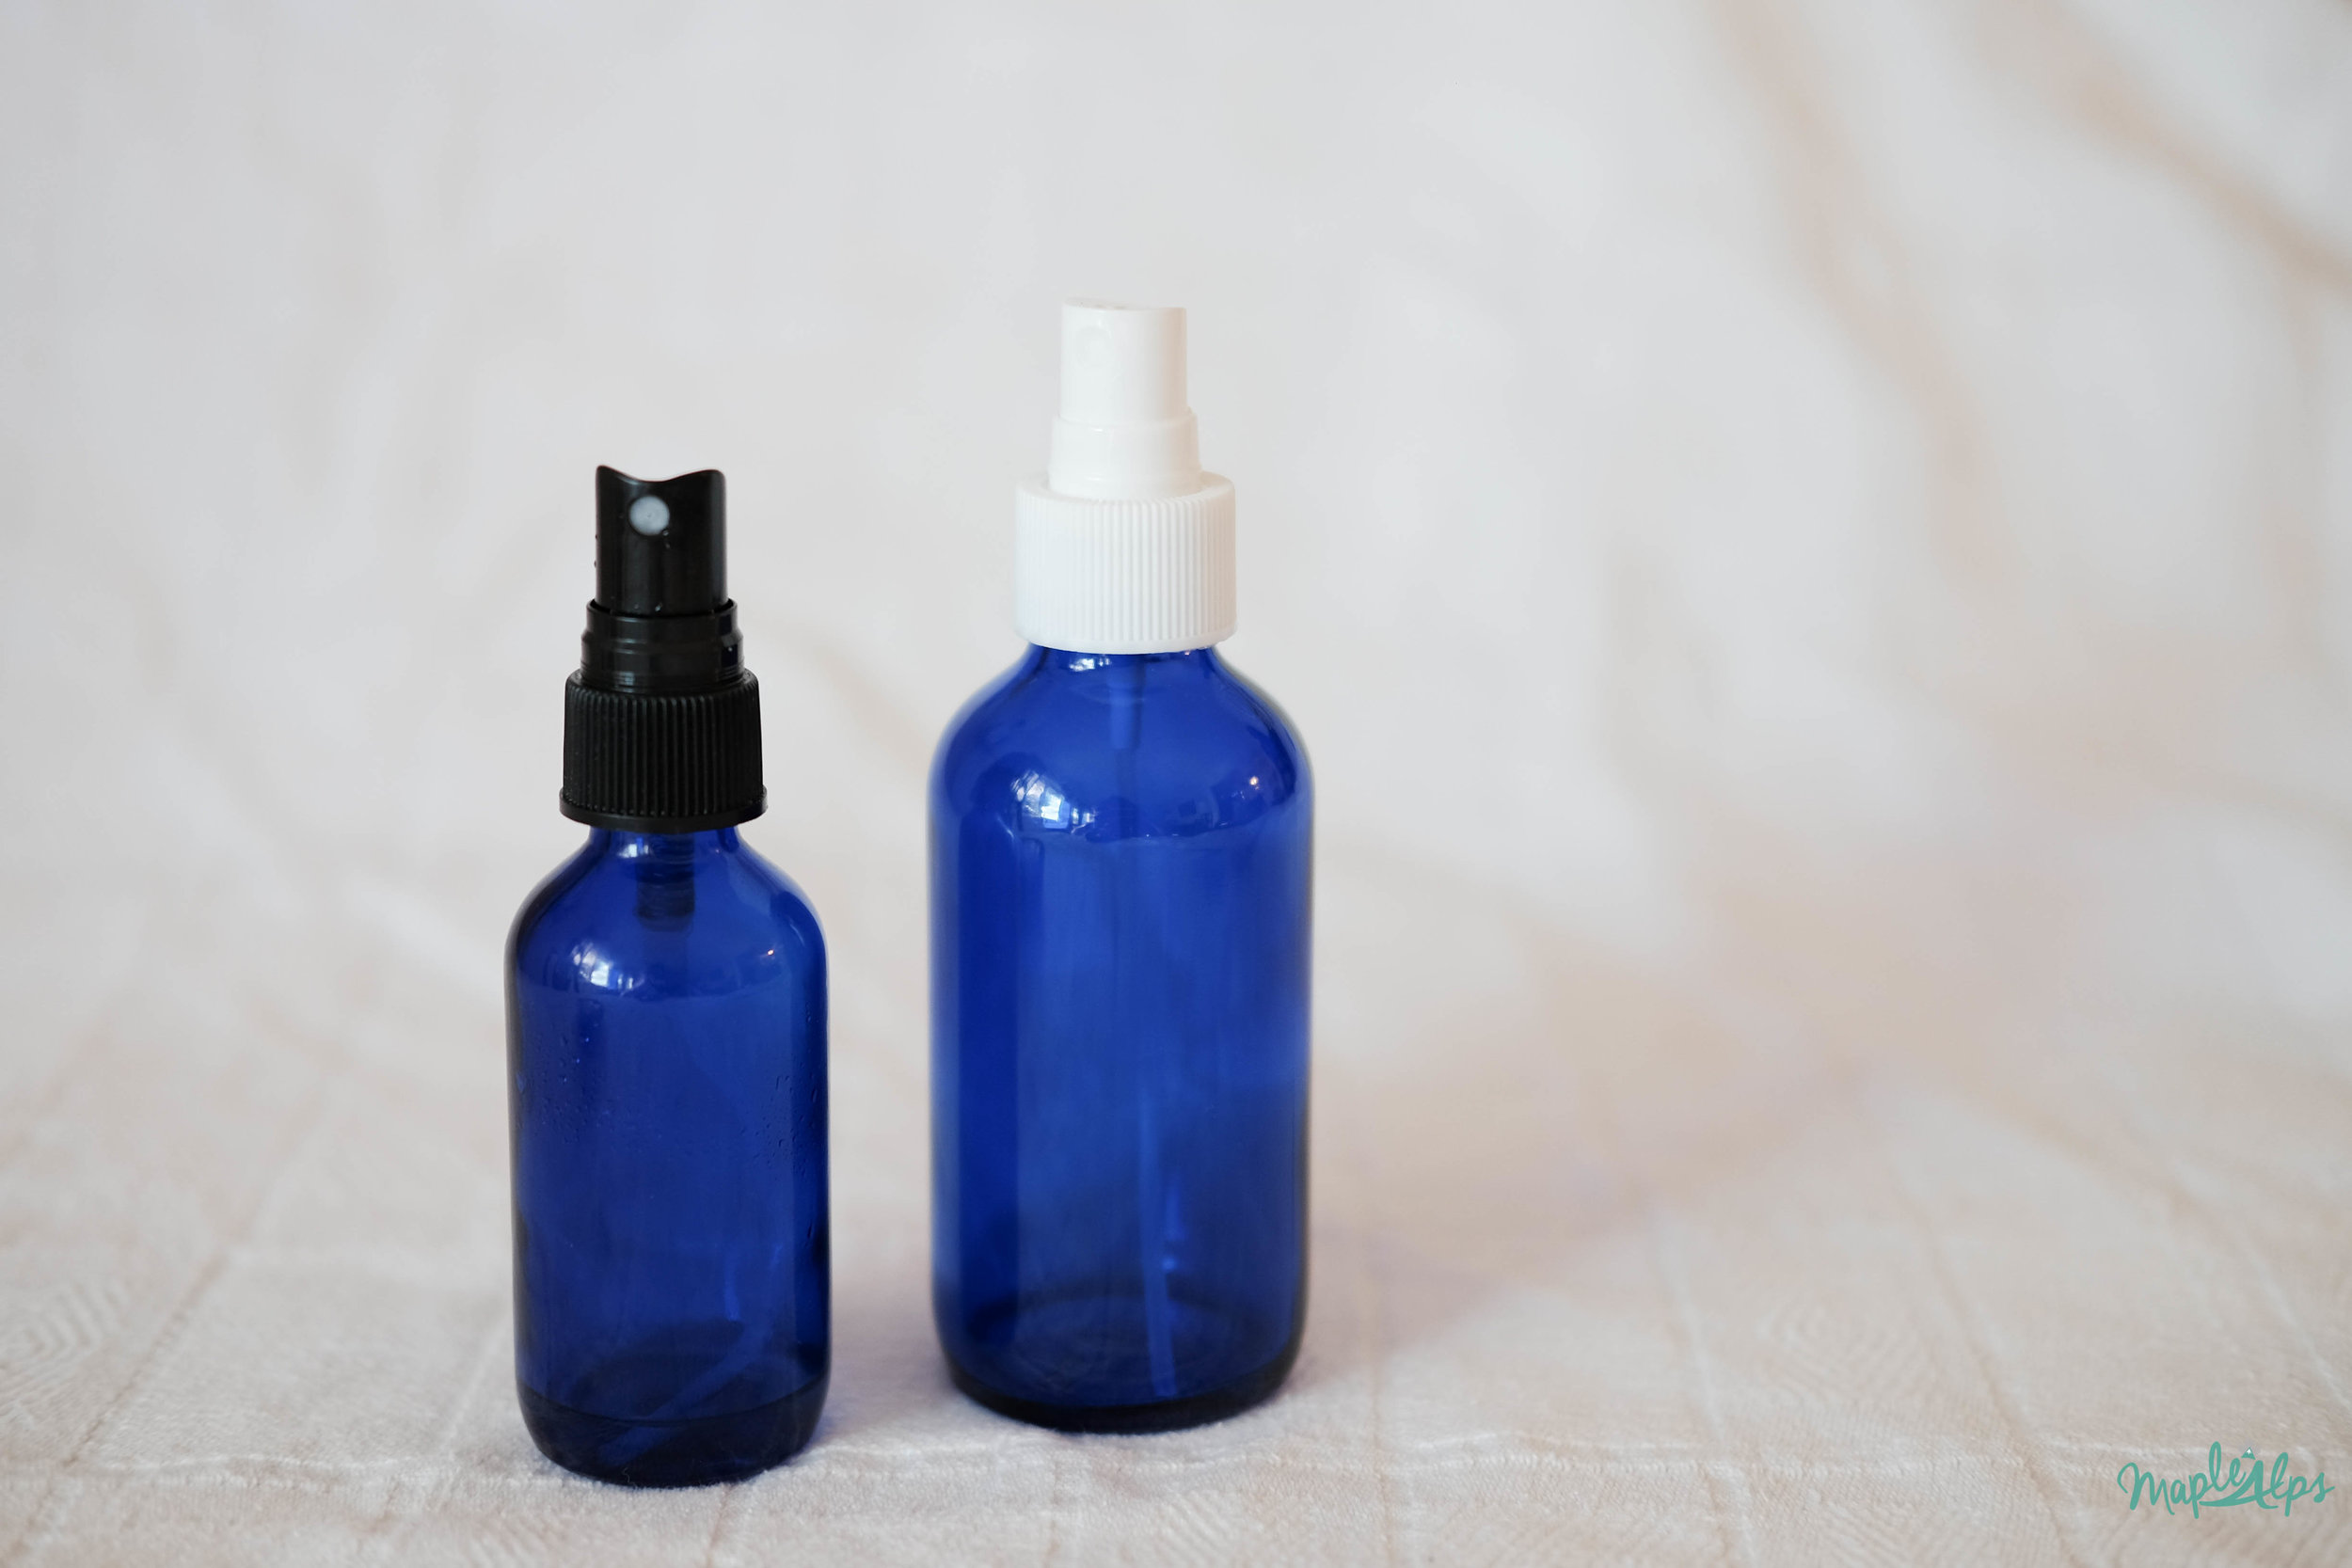
3) Allow to cool completely then add to 4oz. glass spray bottle (I use these ones)

4) Add essential oils

To Use: spray on, rub in a bit, and allow to dry.

In conclusion: I would totally recommend this. I can't deny that it works. There's no nasty residue, and feels fresh. I never mind an extra dose of magnesium either! 

Homemade Natural Deodorant | www.maplealps.com

What about you? Would you ever try a natural deodorant? Have you? What about this one? Leave a comment telling me about it - I'm all ears!


DIY Wonder Ointment

Natural LivingAmanda Walter | Maple Alps19 Comments

This past Winter proved a challenge for my skin. When temperatures drop, I'm prone to dry skin, but this year was unlike any other. My entire throat area became a dry, and later sore and itchy mess, and I seriously contemplated going to a dermatologist. I've done so in the past, but since I'm new to the area (and country!), I decided to see if I could help it on my own. I don't always advise this, but I made an exception because it just looked like severely dry skin. 

Enter: this homemade wonder ointment. I had been putting vitamin E oil on my throat and it seemed to have been improving at least the dryness, but I wanted to add essential oils that would heal and help any possible scarring. Putting on 5 billion different things all after the other didn't make any sense to me, so I decided to put together this salve. 

This post contains affiliate links.

DIY Moisturizing and Healing Ointment/Salve. Easy to make and so very effective with essential oils and vitamin E

I used Frankincense and Lavender because of their awesome healing properties. They also smell great - in my opinion. Lavender, for one, can help with scarring and Frankincense, among a ton of other amazing things can be good for soothing dry and chapped skin as well as scarring. Seriously, I could write whole posts about these amazing oils, but I'll spare you today. Just today though. Just know that I was in desperation - chapped skin is NOT fun.

I put this in a 4oz jelly jar, but I am also considering putting some in a small travel-size tin so I can take it with me everywhere! Since I travel so much, I do usually try to save space and pack minimally.

EDIT: I put some of this in a travel-sized pill box thing, and it works amazingly!

Using this twice a day, my skin cleared up very quickly. I seriously wish I had taken before/after pictures, it worked so well! It actually worked SO well, that I decided to share how I made it with all of you today. This has worked wonders for my dry and chapped skin. 

I might also mention here, that I upped my water intake (which I should have done sooner), and I think that helped as well. Lately, I've been putting the ointment on my face before bed and using it as a night cream. Why not, right?

DIY Wonder Ointment

What You Need:

What to Do:

1) Melt the beeswax using double boiler on LOW heat. It will probably take about 15 minutes for it to melt completely.

2) Add sweet almond oil, coconut oil and shea butter and allow to melt.

3) Remove from heat and add essential oils and vitamin E oil.

4) Allow to harden - I got impatient and put it in the fridge to harden quicker!


DIY Moisturizing and Healing Wonder Ointment | www.maplealps.com
 

I love, love, love this! The production of this ointment has inspired a lot of other home products - you know I'm already concocting my next DIY! I really don't know why I never started doing these things myself in the first place. Nothing I ever bought has soothed and helped my dry skin this well before, so I'm glad I tried. 


You know what I use now, but what do you use to soothe your dry skin? I want to know, so comment below!


DIY Moisturizing and Healing Ointment/Salve. Easy to make and so very effective with essential oils and vitamin E