Maple Alps

beauty

DIY Facial Toner

Natural LivingAmanda Walter | Maple Alps7 Comments

I remember when I was a teenager, how I was always very conscious of what was going on with my face. It's probably because my Asian family was extremely blunt about the imperfections of hormonal acne, but hey, I'm okay now. I remember going through a 5 step facial regimen every night to ensure my face would be clear of any sign if pimple growth. Of course, it didn't really help much - nature has a way of being cruel sometimes. 

My skin has since greatly improved (largely because of a grown awareness of what can cause acne and other issues), but that does not mean I do not need to take care of my skin anymore! I have found that what I eat has a large effect on my skin, but washing the impurities off my face (which is exposed all day long, I might add!) at the end of the day helps as well. Since, as you know, I like to keep the chemicals off my face, I set out to find the perfect solution.

Affiliate links are used in this post

Easy, all natural, 3-ingredient DIY face toner. Love this stuff! | www.maplealps.com

One thing I love about this toner is how inexpensive it is to put together! I had all the ingredients already on hand so I whipped up a batch right away to use. Another thing I love is how clean it makes me feel! Seriously, not to be gross or anything, when I would see that extra dirt come off onto the cotton pad even after using my face wash, I rejoiced! It doesn't use any harsh ingredients like alcohol or fragrances.

I have heard mixed reviews about using a toner with witch hazel or apple cider vinegar, but I've found this mixture to be successful for me (that was my disclaimer). It has now been a year since first making and using a homemade face wash and this toner. I don't use it every day (you'll see one reason why in the next paragraph), but I have noticed a definite change. I also find it extremely soothing on hormonal acne.

I do have one thing I feel a duty to mention: You could truly call this potion a husband spray, because, like bug spray, my husband will not get too close when I use it. Unless your significant other enjoys the smell of apple cider vinegar, use at your own risk ;-)

DIY Facial Toner

DIY Facial Toner

1 TBSP Apple Cider Vinegar
1/4 cup Witch Hazel (Alcohol-Free!)
1/4 cup Distilled or Filtered Water
Essential oils - lavender, lemon, tea tree (optional - I don’t usually add them)

1) Mix apple cider vinegar and witch hazel into desired glass container.

2) Slowly add the water, and finally the essential oils.

3) You will need to give a good shake before using a cotton pad (or a reusable cotton wipe) to wipe your face.

4) Do not rinse off

 
Vegan Pantry Opt In.png
 

What kinds of homemade facial cleansers have you tried and loved? Let me know below!



DIY Facial Toner | www.maplealps.com

I Quit Makeup. Here's What Happened.

Lifestyle, Natural Living, Health, BlogAmanda Walter | Maple Alps13 Comments

I quit makeup.

Over two years ago.

Now, before you stop reading because you think I’m going  to tell you to stop wearing makeup, I’m not going to do any such thing.

I just felt like writing about my experiences - good and bad - when I stopped wearing makeup. Consider this more a personal reflection, and take from it what you wish!

This girl quit makeup | www.maplealps.com

Why did I do it?

I’ll be honest: I have no radical reason as to why I stopped wearing makeup. I just….decided to one morning. Don’t get me wrong - I really did enjoy wearing it and putting time and effort into my appearance, but when I questioned my motives (and some of the ingredients and testing methods of certain companies), I didn’t like what I was seeing. It was all about me and what people saw when they saw me. I realized that what I looked like shouldn’t matter as much as what my character was - so I took a break. My break has stretched to two years now, and I can’t say that I don’t miss it at times (again, for mostly superficial reasons), but I took some time to reflect on it.


It saves me time

I seriously used to be really good at getting up really early in the morning and getting myself together and ready. Over the years, however, it has gotten harder and harder to do that - mainly due to my light sleep and having a husband who goes to bed later than I would prefer. I am still obligated to wake up much earlier than I would like with these circumstances, but when I need the extra ten minutes, I take it. When I don’t need the extra time, it is now used in a much more productive way; I can extend the time for prayer, or eat a slower breakfast. It’s nice to not rush. It’s also nice to not spend so much time in front of the mirror looking goofy.


It saves me money

As I was going through the cosmetic aisle the other day, I was shocked to see some of the prices on brands I used to buy regularly. I did some quick math in my head and the number that came up was quite large. Being much more intentional about my money is important, and prioritizing what I spend it on is part of that. I was glad to realize that a large portion I would normally not even think about spending on makeup “essentials” now goes into savings.


It saves me stress

I don’t know about you, but I can’t stand the extra stress. Why should I have to worry about whether my mascara is truly waterproof when it rains, or if my nail polish is chipping in an unattractive manner? I have enough to worry about in a day, so adding on these factors was just making me more of a basket-case than I already am! Honestly, going back to the time thing as well, the stress of running out of time in the morning is too much for my delicate heart.


It saves my skin

It is nothing new that a lot of makeup and other toiletries are made with questionable ingredients that harm our bodies. Yes, there are fantastic alternatives I’m sure, but I’ve not explored these [often expensive] alternatives. Honestly, I could do with putting fewer layers of “stuff” on my extremely absorptive skin anyway. I don’t have the best skin, and skipping the chemical-filled cosmetics has improved it so much.


My Husband Still Loves Me

Yup.


In Conclusion

I never set out to see how long I could go without painting a nail or lining my eye (sounds so weird when I say it that way). I just got fed up and started on a journey I didn’t know I was going on. I doubt that I’ll ever go back, and if I do, I do. For now, I am content with my choice and glad for the extra time, money and peace of mind it contributes to.


What do you think about my experience? Experienced anything similar?


4 Simple DIY Moisturizing Face Mask For This Winter

Natural LivingAmanda Walter | Maple Alps6 Comments

The cruelty of winter on our face requires that we give it an extra moisturizing boost once in a while. Whether it’s outside where the air is freezing and dry or indoors where we’ve cranked up the heat on maximum, the winter season results can be brutal on our skin!

A simple solution for this would be to go out and purchase a moisturizing mask. However, sometimes we just don’t feel like spending all that money on face masks. Plus, who wants to go outside in this horrible weather when we can just stay at home and cozy up in front of the fireplace?

 For this reason, we’ll help you explore and browse through your fridge items and use everyday items to create 4 simple DIY moisturizing face mask for this winter!

And even though it might seem weird at first, these DIY masks can be even more effective than store-bought ones. Plus, you’ll know that everything you apply on your skin is completely natural and doesn’t cause any irritation to your sensitive winter skin. 

 
4 Simple DIY Moisturizing Face Mask For This Winter | www.maplealps.com
 

1.    Avocado Mask

Avocados are full of healthy fatty acids, vitamins, and minerals that will deeply nourish and moisturize even the driest skin. Vitamins E and A in the avocado will gently feed and repair the tiny cracks of your dry skin, while its rich antioxidant content will fight off aging skin and destroy free radicals. For an even stronger moisturizing effect, mix the avocado with olive oil, yogurt, and honey, all of which with incredible hydrating effects.


Ingredients for the Avocado Mask:

●      Avocado – half
●      Honey – one teaspoon
●      Olive oil – one teaspoon
●      Yogurt – one tablespoon


Preparation: Smash half an avocado with a fork as much as you can, until there aren’t any large chunks of it left. Making the avocado as smooth as possible will allow a better application. Next, mix the avocado paste with one teaspoon of honey (best effects can be seen with raw honey), one teaspoon of olive oil, and one tablespoon of yogurt.

Mix well and apply on your face. Leave the mask on for 15 to 20 minutes and then rinse well with lukewarm water. You will immediately notice a huge difference and your skin will feel incredibly smooth! 

 
4 Simple DIY Moisturizing Face Mask For This Winter | www.maplealps.com
 

2.    Banana Mask

Bananas are rich in potassium, which is known to be a deep moisturizer for dry skin. Furthermore, they contain Vitamins B and A, as well as amino acids which will give your skin an extra boost of strength and elasticity. In this banana mask, we will also add yogurt which contains calcium and lactic acid – known for their skin benefits. And finally, our third and last ingredient will be olive oil which is an incredible hydrating oil that keeps moisture in.


Ingredients for the Banana Mask:

●      Banana – 1, ripe
●      Yogurt – 1/3 cup
●      Olive Oil – 1 teaspoon


Preparation: Use a fork or a similar tool to smash one ripe banana until there aren’t any chunks and large pieces left. The smoother you make this banana paste, the less messy the application process will be. After you’ve pureed the banana, add 1/3 cup of yogurt and 1 teaspoon of olive oil and mix all these ingredients together. Once you’ve prepared your mask, apply it with your hands or a clean brush and wait for 15 to 30 minutes.

 After that, wash off the mask with lukewarm water and gently pat-dry your face. The results will be amazing!

 
4 Simple DIY Moisturizing Face Mask For This Winter | www.maplealps.com
 

3.    Coconut Oil Mask

Coconut oil is one of the best ingredients when it comes to DIY moisturizing face masks. Not only that it smells divine, but it’s also one of the most hydrating oils ever! Aside from that, coconut oil has antiviral and antibacterial properties which will prevent acne formation. The best addition to a coconut oil mask is brown sugar. Exfoliation is a “must” for dry winter skin, and brown sugar is the perfect way to make this 2 in 1 mask + exfoliator.


Ingredients for the Coconut Oil Mask:

●      Coconut Oil – 1 tablespoon
●      Brown Sugar – 1 tablespoon


Preparation: Coconut oil is solid in cold temperatures, so you will need to leave it to melt either at room temperature or to heat it up a bit. However, make sure that you don’t make the oil warm or hot. Once you’ve melted your tablespoon of coconut oil, add 1 tablespoon of brown sugar. Apply this mask by massaging it on your face in circular motions.

This will exfoliate your skin incredibly well! After you’re done with exfoliating and applying the mask, leave it on for 10 to 15 minutes. Finally, rinse your face with lukewarm water and feel the bliss! 


4 Simple DIY Moisturizing Face Mask For This Winter | www.maplealps.com
 

4.    Egg White Mask

Our final suggestion for those cold winter days is the egg white mask. Egg whites are high in collagen and proteins which will bring back your skin’s youth and elasticity. Trust us, you’ll feel 10 years younger after this mask! Aside from the egg white which will tighten your skin, this mask also contains almond oil for hydration, as well as oats which are some of the best natural moisturizers and gentle exfoliators.


Ingredients for the Egg White Mask:

●      Egg White – 1
●      Coconut Oil – 1 teaspoon
●      Oats – small handful


Preparation: First whisk the egg white with a fork until it’s white and foamy. Next, add 1 teaspoon of liquid coconut oil and mix it together with the egg white. And finally, add a small handful of oats into the mixture. Combine together all these ingredients well, and your mask is ready. Start applying the finished product on your face with the help of your fingers or a clean brush.

It’s best to apply the mask while you’re wearing old clothes and standing over the bathroom sink because it can be a bit messy. Leave the mask on for 15 to 25 minutes, or until you feel that the egg white is starting to dry. Then, rinse it with warm water and pat-dry your skin. 


The above 4 simple DIY moisturizing masks for this winter will all give you incredible results, just like any expensive store-bought mask would. So, don’t hesitate to try them all and tell us your impressions! 


4 Simple DIY Moisturizing Face Mask For This Winter | www.maplealps.com

My name’s Manoju or Manju as my friends like to call me. I blog at Mangolift.com and I believe that no one should be judged by their appearance. I started Mangolift to help people improve their skin and so that they can walk with their heads up high.

If you are interested in guest posting, check out the guest posting guidelines for Maple Alps, here.


Luxurious Whipped Cocoa Body Butter

Natural LivingAmanda Walter | Maple Alps11 Comments

It finally happened. I ran out of my precious Body Shop body butter. Let me tell you about this butter: I've been using it for YEARS, and since my favourite flavour is blueberry, I would wait till it came out every year, and then buy enough to last me a year. And that is all I would use. Because lotion never cut it for me. Plus, who can resist those blueberry fumes?! Not this girl.

Well, that is until I found cocoa butter, smelled it, and figured out it was WAY cheaper to make my own amazing body butter - plus I didn't have to wait a year to find my favourite flavours!

This post contains affiliate links.

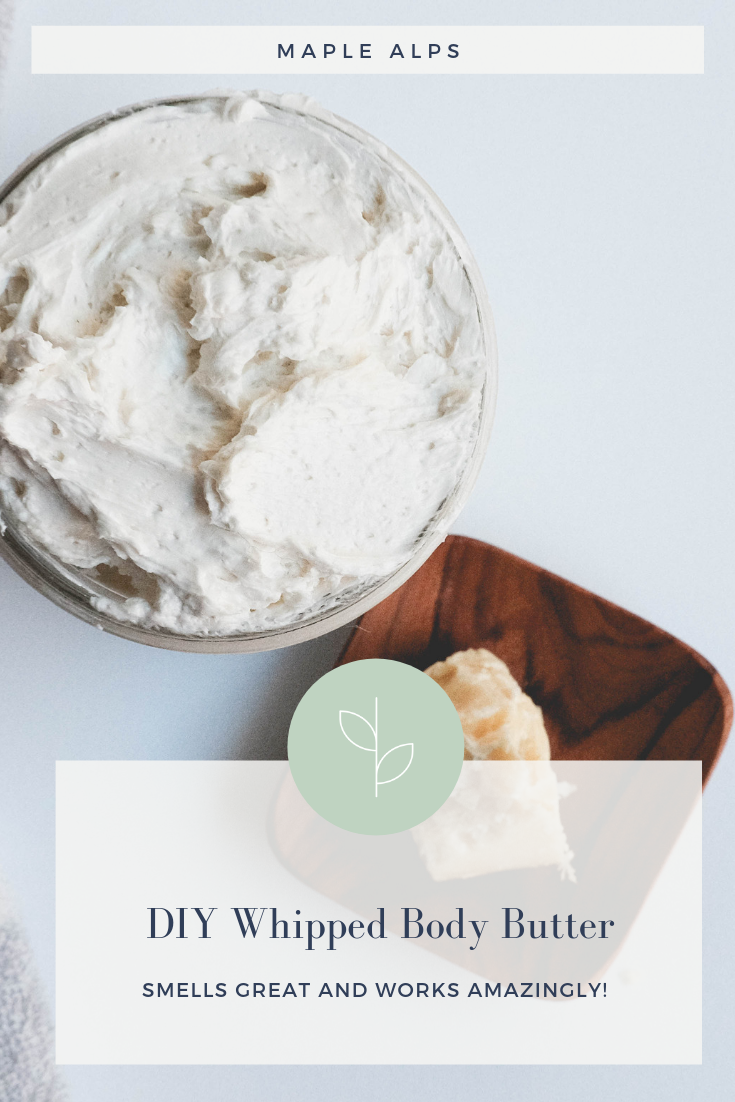
Luxurious Whipped Cocoa Butter Body Butter

It amazes me how far I've come in my quest for homemade and natural alternatives for every-day essentials. I've always been a fan of being more on the natural side, but never in my wildest dreams would I have seen myself making my own products to save money and save myself from the chemicals that are lurking in many toiletries on grocery store shelves - the ones I've been using for a long time! 

Luxurious Whipped Cocoa Body Butter | www.maplealps.com

I vowed that once my blueberry body butter ran out, I would make the switch to homemade, and let me tell you: I've not yet looked back!

This body butter is so smooth, soft, luxurious feeling and SMELLS AMAZING. It also feels so great and does not feel greasy at all. It's also super easy to make, and easy on my wallet.

I'm confident it will be a perfect moisturizer as Winter makes it's way here. 

Luxurious Whipped Cocoa Body Butter | www.maplealps.com

1/2 C Cocoa Butter (I used this one)
1/2 C Shea Butter
1/2 C Coconut Oil
1/2 C Sweet Almond Oil

1) Using double boiler, melt everything together.
2) Add to mixing bowl and place in the fridge until solid, but still soft (about 50-60 minutes).
3) Using electric hand mixer, whip mixture until light and fluffy.
4) Transfer to glass jar and store in cool place. 

Note: mixture will hold texture perfectly fine at 75 degrees F (about 24 degrees C) and below.


Needing a new body butter to prepare for Winter? Ever tried making your own?


Luxurious Whipped Cocoa Body Butter | www.maplealps.com

Easy DIY Moisturizing Face Cream

Natural LivingAmanda Walter | Maple Alps39 Comments

A few months ago, I became increasingly dissatisfied with the face cream I had purchased. Though claiming to be moisturizing, my skin always seemed dry just moments after its use. To top that off, I didn't particularly like the smell of it. I kept on using it though - there was no way that an $11 face cream couldn't "work" properly. The only thing it had going for it was the sweet jar it came in. It was blush pink. I like blush pink.

I finally decided to pull the plug as I became more and more frustrated and more and more aware of the harmful ingredients being put into face creams (and many other personal care items in our bathrooms!). Remember, our skin is our largest organ, so if something is toxic to eat, I'm not really excited to slather it on my body either.

Today, I share with you how I "made" my own face cream and my experiences.

This post contains affiliate links.

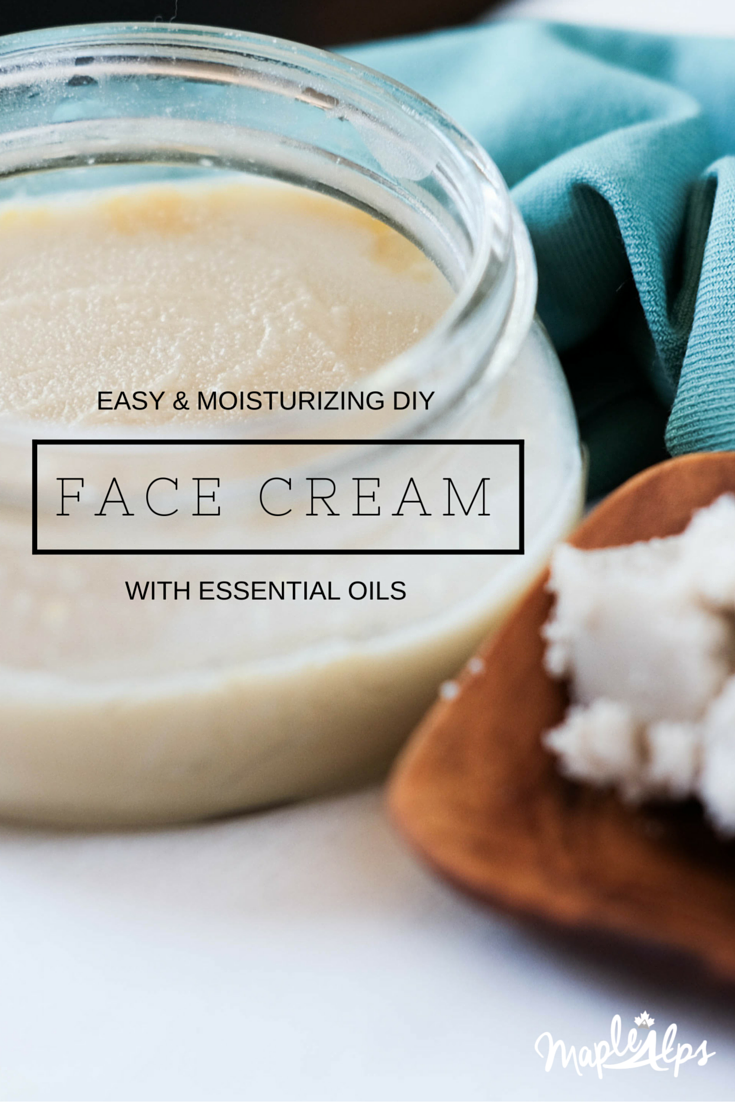
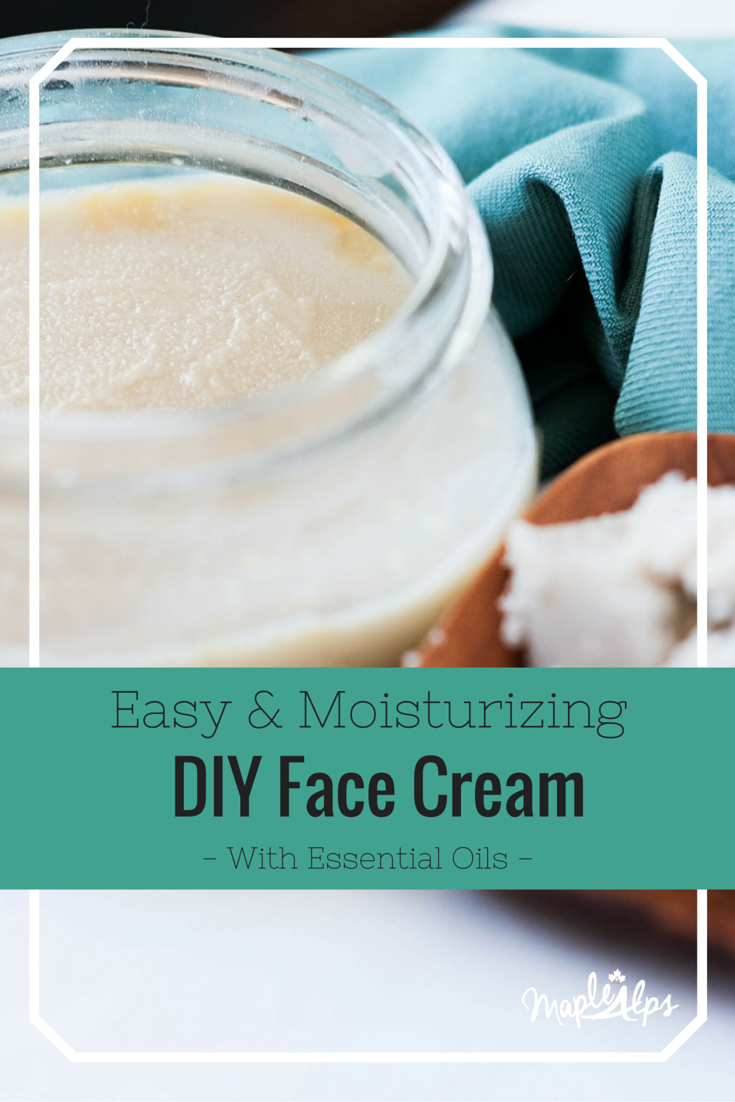
Easy and Moisturizing DIY Face Cream! Make in one day!

Making this face cream was so much easier than I thought! I scoured the internet looking for inspiration and everyone seemed to be using the same ingredients - the same ones you'll see over and over in my natural living posts - coconut oil and organic raw shea butter being a few. Of course, sweet almond oil was involved, as were essential oils! I love essential oils :)

Speaking of essential oils, when I first tried this out, I used lavender. My husband hates the smell of lavender though (something about moths...), so for my next batch I chose something else. Check out this post from Body Unburdened (and seriously, the rest of her website - Nadia has a wealth of information!) for a list of top essentials oils for skincare and more. Fun fact: I've used 7/10 on this list (but not all at once).

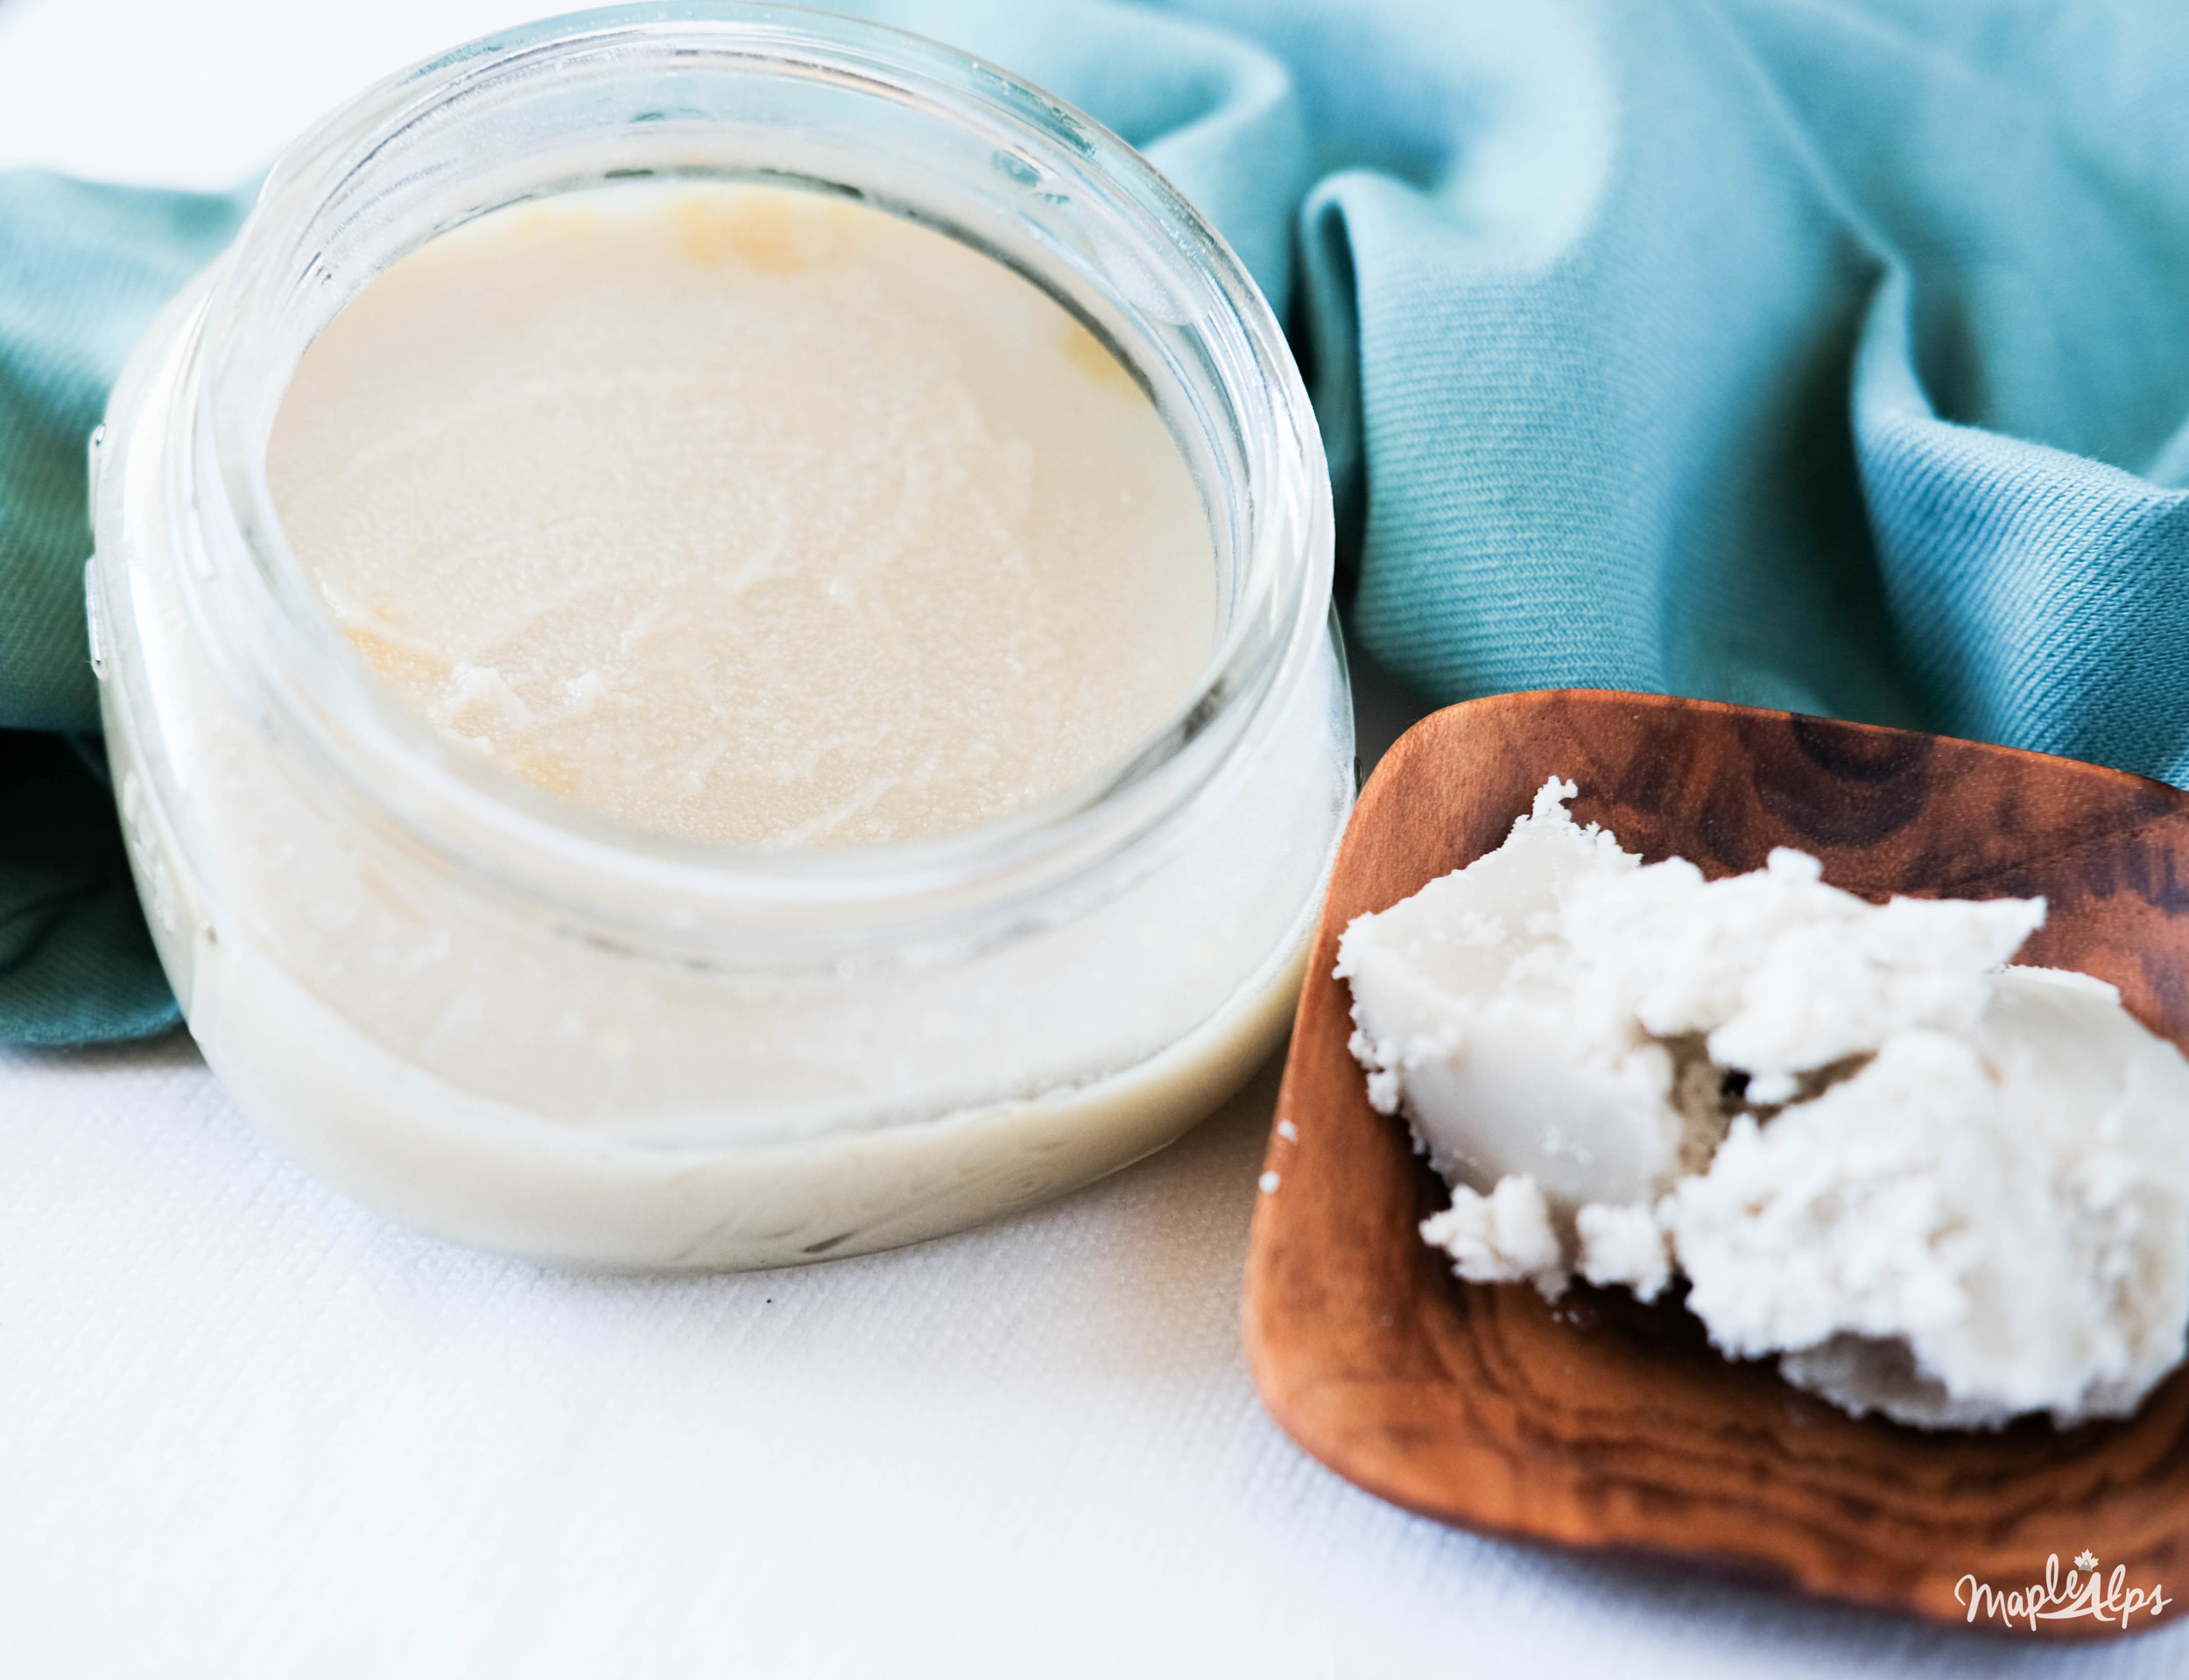
Easy and Effective Moisturizing Face Cream

At first I thought my concoction might be greasy, and though it does feel greasy as you take it on your fingers, once it's rubbed in, it isn't at all! I really appreciated that. Nothing worse than walking around with a shiny face all day...

I've been using this face lotion for several months now, and I have to say that it's one of the best I've used for my skin (I have really dry skin). I was impressed from the first time I smeared it on my face! It made the winter a bit more forgivable, and the cream (and drinking plenty of water) helped my skin stay hydrated.

I fully intend to try out a different lotion recipe, but for now, this is what I use. Never again will I spend $11 on face cream.

Quick and Easy DIY Moisturizing Face Cream!

1 TBSP Shea Butter
1 TBSP Coconut Oil
1/2 tsp Sweet Almond Oil (I've also tried with Vitamin E Oil)
2 tsp Beeswax Pellets
5-10 Drops Essential Oils

1) Melt shea butter, beeswax, and coconut oil using the double boiler effect (small bowl or jar in a pot with water) on low heat.
2) Once melted, remove from heat and stir in the sweet almond oil. 
3) Add essential oils and allow to solidify (I let it sit for 24 hours).

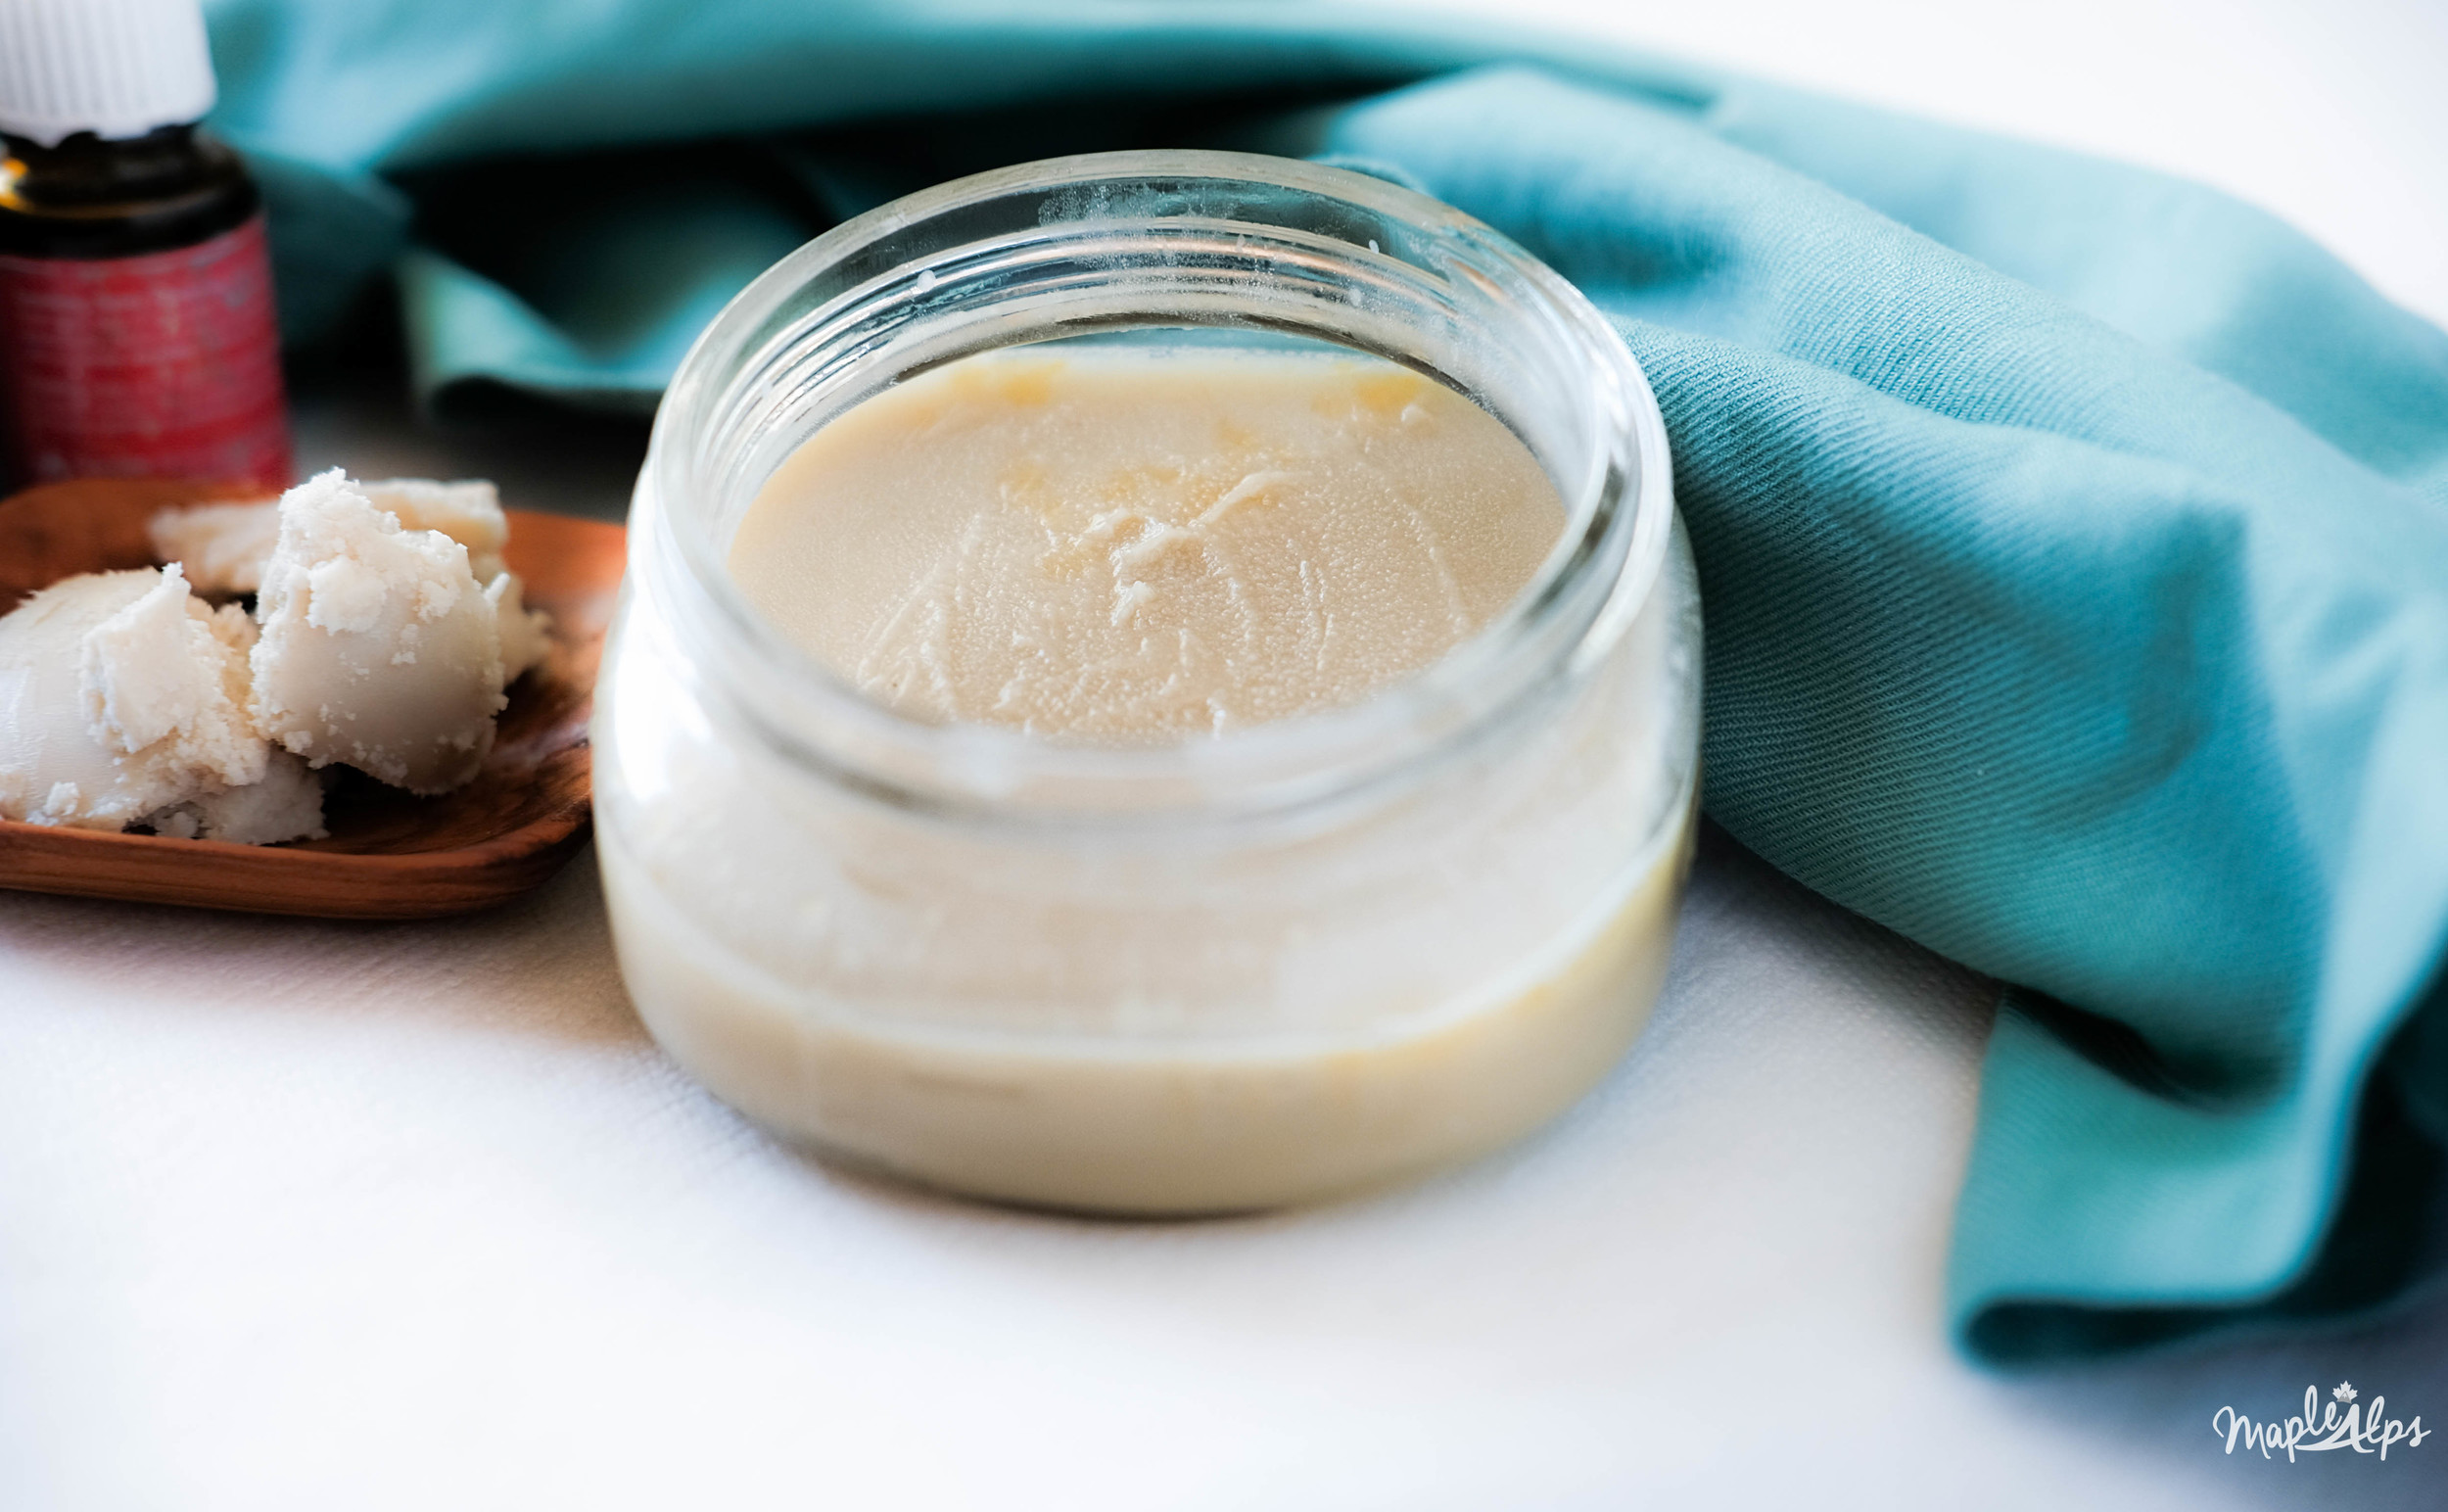
**Note: Once set, if you stir it with a popsicle stick, you will get a more "lotion-like" texture!


Easy and Moisturizing DIY Face Cream. So easy and with essential oils!

There you have it! A super easy and natural face cream! That wasn't hard at all, was it? Next week, I'll be back with another DIY I've been testing out to share with you! I've had several on my shelf that I'm excited to write about! 

Now it's your turn. What do you think? Would you try this easy face cream? Why or why not? Comment below!