Maple Alps

hygiene

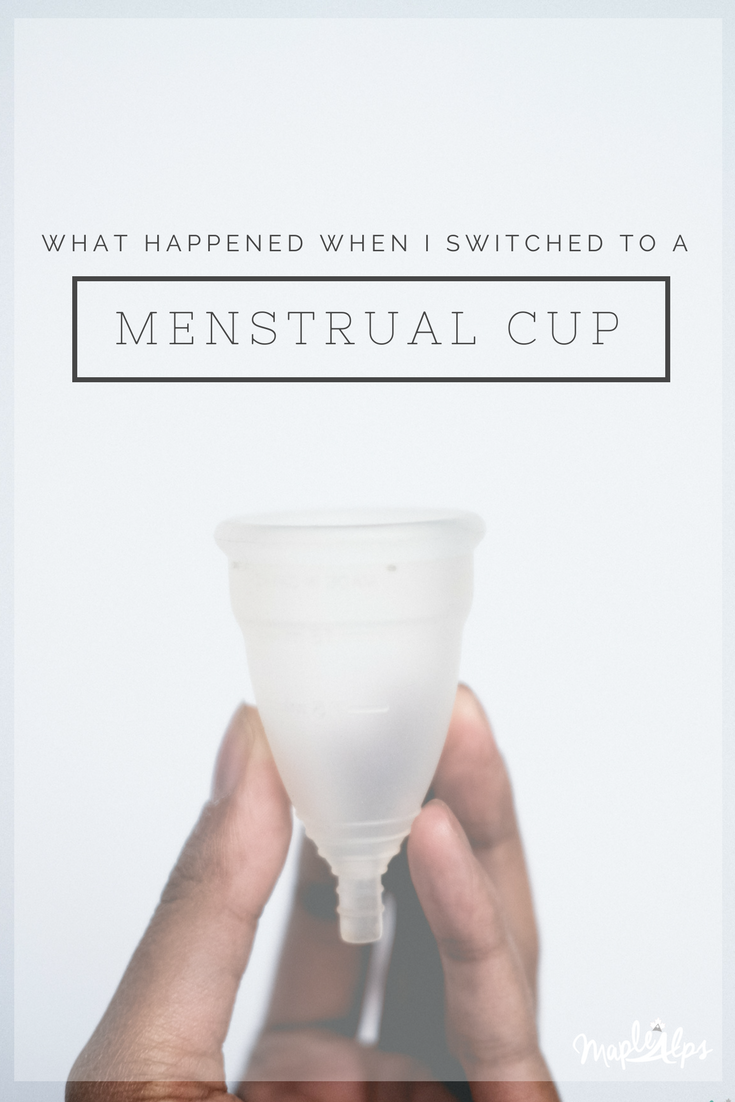
I Switched to a Menstrual Cup and Here is What Happened

Natural Living, HealthAmanda Walter | Maple Alps30 Comments

Word of caution: if you are squeamish, you may want to skip this post. I went back and forth with writing this post but finally decided to. With Earth Day this last weekend, it turned out to be pretty much perfect timing, even though I didn't intend it that way. I'm not one to talk to the world about traditionally private issues, but my life has changed so drastically, that I can't keep silent! This is just one post that I plan on writing about this topic, so stay tuned! By the way, there are affiliate links used in this post, but know I only suggest products I've tried and love!

As you know, I'm constantly looking for ways to save money, to create less waste, and to eliminate as many toxins from my lifestyle as I can. Feminine hygiene was never something I thought to even consider, but it turns out I was wrong, and I'm okay with admitting that to the world. 

First off, I had no idea that there were so many potentially harmful chemicals used in the manufacturing of pads and tampons. Chemicals are used to bleach the product white, and even aid with absorption. Of course, there natural, chlorine-free and 100% cotton products available, as well as cloth options, but my next concerns were cost and also waste production.

According to a quick Google search, most women use a lifetime estimate of 11,000 pads or tampons! That is a lot of trash! If you think that you are just one person, think about the billions of females on earth who each menstruate for about 40 years of their lives...that sure adds up to hundreds of pounds of disposable products in landfills all over the world. These products also contain plastics that do not break down very easily if at all.

I Switched to a Menstrual Cup and Here is What Happened | www.maplealps.com

I toyed with the idea of a feminie hygiene cup for over a year before taking the plunge. I could not get my head around a cup going in places the sun doesn't shine (sorry). I went back and forth, watched countless Youtube videos (the ones where they put the cup in a glass tube, haha!) and read a plethora of articles about all things menstrual cups.  I actually think I informed myself a little toooooo much, because this went on for so long. I even tried other eco ways that didn't involve the silicone goodness (more on those experiences later!!) Finally, I just decided it was time to jump in with both feet. I walked into a drugstore with the sole purpose of buying one of those silicone babies (upon reflection, I'm not sure why I didn't just get one online...), found my size (there is a pre-baby and post baby option), put down my money, and walked right out.

I didn't expect to love it right away, but I did. While there definitely was a learning curve, I stuck it out, stayed persistent, and it paid off. After just one cycle of use, I was already convinced and [almost] looking forward to the following one. I never thought any sentiment even close to that would happen, but it did, and I was sold. 

 
Most women use a lifetime estimate of 11,000 pads or tampons! That is a lot of trash!
 

After a few months, my convictions stayed the same. I love how easy it is to use, how there are no risks for things such as Toxic Shock Syndrome, how there is no smell (!!!!!!!), and the fact that the trash can has not once been overflowing with waste.  

Diva Cup | www.maplealps.com

Some Things You Should Know:


There are many different brands of cups. I have personally only used Diva Cup, however, I really want to try some others. If you have no success with the first one, that's fine - pick another brand and try again! There are all sorts - including a collapsable one that fits right into your purse!

There is a learning curve. But don't give up! Give it at least 3 months before you completely throw it to the side.

Make sure you know how to dispose of your cup. Depending on the material your particular cup of choice, each manufacturer offers a suggested way of disposal. Diva Cup (made of healthcare grade non-absorbant silicone) suggests cutting up your cup before throwing it into the trash, while some cups are able to be recycled. The good news is that with proper use cups may last quite some time before you have to worry about that. 

Get ready to save money! While the cup was more money up front (and most cost between $20 and $40), it only took a few months before it paid for itself. Of course, it depends on what products you typically purchase, but eventually, it all evens out (and is it just me, or is the price for tampons and pads going up?!).

Some people say that cramps will go away with menstrual cup usage. I have not found this to be even remotely true :) 

Depending on your flow, you can keep the cup in for 12 hours - with no leakage risk! No more gross tampon string or diaper-feeling pad. I'm grossed out just thinking about it. This also is a tremendous help in my case as a teacher, since I can't leave every 4-8 hours to make changes in my life... Just saying. Confession: I've had mine in for 24 hours with not even a slight issue. Just depends!

You may still need a backup. Especially when you're still perfecting the art of the cup. You could still use a liner, or if you're like me and feel accomplishment in a low-to-no-waste week, something more eco-friendly like period underwear (more on that in another post). 

Menstrual cups are easy to find! I got mine at the drugstore, but you can get them pretty much anywhere - and they're cheapest online (Grab one from Amazon here). Bonus: they come with a cute carrying case for in-between cycles!

This is not a paid ad. I just love the cup that much! Of course, if you choose to use my link to purchase your own cup, I will get a few cents - but really, I just felt the need to share the wonderful thing that is the menstrual cup!

I Switched to a Menstrual Cup and Here is What Happened | www.maplealps.com

In Conclusion,

I have had an awesome experience with a menstrual cup: I feel better about having less waste production, I love knowing that there are no harmful chemicals leeching into my body, no risk of leaks and embarrassment and that I'm saving a whole lot of money! There are tons of reasons to switch to a menstrual cup!


What's your "green" way to deal with red times of the month? Let me know below! Any questions?


Why I switched to a menstrual cup | www.maplealps.com

DIY Natural Toothpaste

Natural LivingAmanda Walter | Maple Alps51 Comments

You probably remember my last post about toothpaste, where I told about the dangers of commercial toothpaste and had tried to make my own for a few months just to see how it would be. Well, consider this a sort of update, because I now use a new recipe. I’ll tell you why and what happened.

This post contains affiliate links.

DIY Whitening Toothpaste; easy and all natural | www.maplealps.com

I’m still convinced that commercial toothpaste does more harm than good. As a matter of fact, my dentist told me that toothpaste is not even necessary. The hygienist recommended baking soda or just plain nothing and assured me that it was perfectly safe.

I had a good few months with the original toothpaste recipe, but once the summer got hot, I noticed fairly quickly that every time I went to the washroom to brush my teeth, my new amazing toothpaste was in liquid form! Keeping it in the fridge was annoying, because unless I remembered to take it out a few minutes before I was ready to brush, it was a solid chunk that I could not be broken down. Imagine my frustration!

I decided I wanted something a bit more pasty - something I could maybe even put in a tube to transport easier and use (since we travel often). After some research, I opted to try bentonite clay for it’s many benefits. Here are just a few:

Benefit One: healing and detoxing properties

Benefit Two: high concentration of minerals like calcium, silica, potassium, iron and magnesium

Benefit Three: alkalizing effect on the body

DIY Whitening Toothpaste; easy and all natural | www.maplealps.com

I came across an amazing article by Wellness Mama that you can read here for a more in-depth look at bentonite clay, it's properties, and a whack ton of uses! 


I added activated charcoal for some whitening power. I don’t know that I’ve necessarily seen a difference, and I only added a bit for fear of it being too abrasive, but I have heard good reports from others I know personally who use it. It's perfectly fine without the charcoal too.

This version of toothpaste is one I can definitely recommend. It was easy to make (no double boiler required), easy to put in a tube, tasted just fine, and felt more like toothpaste. The best part is that it doesn't melt in the summer heat, so I had squeaky clean teeth the whole season! 

DIY Natural Toothpaste

2 TBSP bentonite clay
4 TBSP distilled water
15 drops peppermint essential oil
1/2 tsp baking soda
1/4 tsp activated charcoal (optional) 

Put dry ingredients and add water slowly until your desired paste consistency forms. Add essential oils and mix well.

Note: Be sure the clay does not come into contact with metal. Use glass containers and wooden or plastic to mix.


UPDATE: By the way, I have been loving using bamboo toothbrushes! There are so many different companies and I’ve tried two that I like so far! These ones are great too!

I have found that this works amazingly well and leaves my breath fresh and minty, and most importantly, my teeth clean! Just make sure to rinse your mouth out well when you're done! Oh, and don't forget to floss ;-) 

What about you? Do you make your own toothpaste? Did you know how easy it was?


Vegan Pantry Opt In.png
 
 
DIY Natural Toothpaste | www.maplealps.com

Natural Deodorant Spray

Natural LivingAmanda Walter | Maple Alps15 Comments

Hello my lovely people! So today's post is going to be a bit different, but hopefully not too smelly! As you all know, we really try to cut down the amount of harmful chemicals in our home and one way we do that is making our own products from natural ingredients. On a side note, this also really helps us save our pennies, because the natural products we make cost only a fraction of a natural product we would buy that does the exact same thing. For the past couple of months, I've been trying out different homemade deodorants, and today I will tell you why, and about one "deodorant" in particular, as well as my experience.

This post contains affiliate links

Two-Ingredient deodorant. Natural, easy and super effective! | www.maplealps.com

For years, I've heard about all the terrible things in a lot of the deodorants we find on store shelves today. One ingredient I always associated with "bad" deodorant was aluminum being linked to breast cancer, but of course I needed to find out for myself. After all, I grew up in a family that taught hygiene and that smelling good was only polite - and deodorant is a part of that. I mean, who doesn't love smelling good?! However, after some research, it appears as though aluminum is not the only negative thing about this particular product, and I should perhaps find an alternative. Of course, there are mixed reviews. Some studies show that while antiperspirant use does alter the bacterial communities in our armpits, further study is needed to show exactly what this means (February 2016 source). My conclusion is that I want to use the most natural things I can. 


A little breakdown of some common ingredients found in deodorant:


Aluminum has been a discussion for years - and not just within the deodorant/antiperspirant realm. Sweating in and of itself is actually a good thing, but aluminum compounds blocks sweat ducts (hence, antiperspirant) and has allegedly been linked to breast cancers. 
"Fragrance" is also something to avoid. I talked about this in the DIY Foaming Hand Soap post, but FDA laws allow the word "fragrance" on our labels to include whatever the product makers want. It's considered a trade secret of sorts. I don't even want to know the kinds of toxins that are included under that umbrella.
Triclosan is another one I've mentioned, and even small amounts of it is discouraged. Not only is it bad for humans (even low levels can lead to thyroid issues, etc.), but once it gets into the environment (waste water treatments can't remove all of it), it is harmful to aquatic life. It's also known to irritate the skin.
Parabens are preservatives found in many deodorants. They have been linked to breast cancer as well, with traces being found in human breast tumors. Read more about parabens and breast caner here.

I could go on, but I'm already convinced. For you, however, read about more ingredients here and find additional information here. I read both of these and found them quite enlightening. 

two-ingredient deodorant. Natural, easy and effective. | www.maplealps.com

Despite conflicting research and information, I've made the decision to use natural ingredients as much as I can. I didn't need to read more studies to convince me to make a more natural choice.


Enter: Deodorant spray.


I first came across this spray while reading one of my frequently read blogs, Sweet Simple Living, and became intrigued! I researched the ingredients Rachel used, checked out her sources, and decided that this was something I would try. 

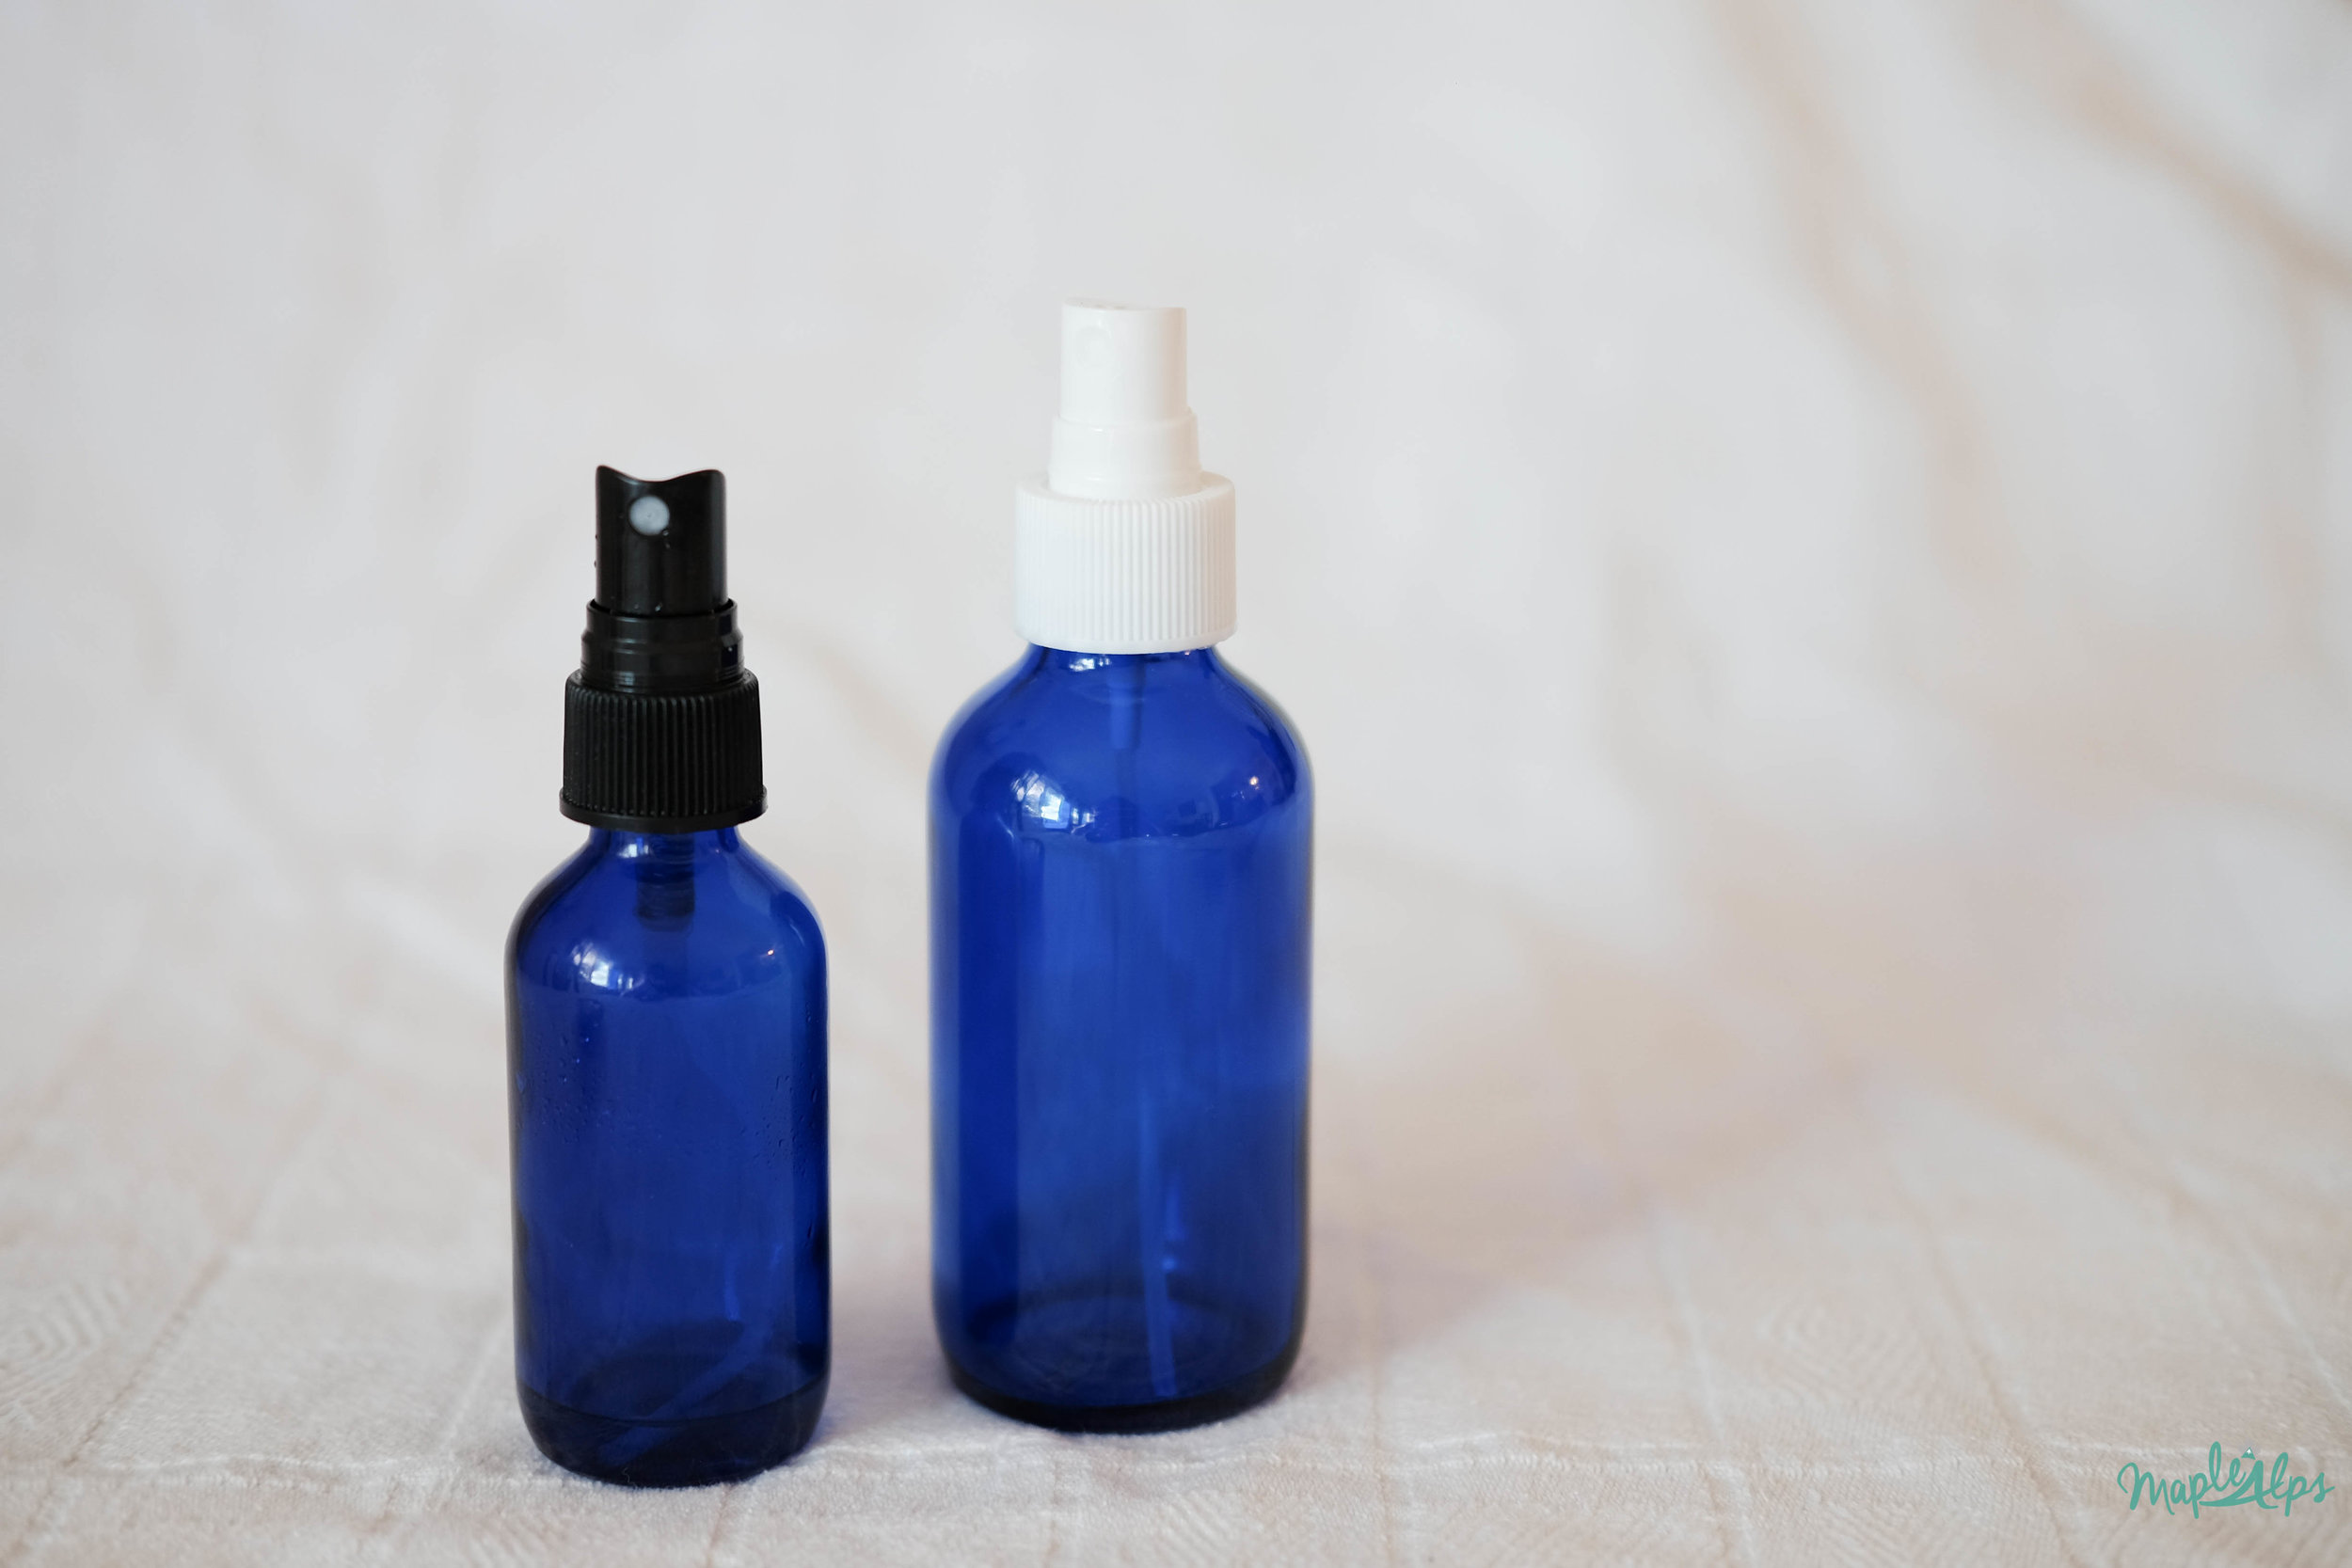
Magnesium oil is the main ingredient in this spray. It's actually not oil at all - it only feels like oil, which is why it doesn't stain your clothes (Read more about magnesium oil from Wellness Mama, here.). An extra benefit of this deodorant spray, is that your body will get some magnesium from it as well - which could lower stress and help with your sleep! It was easy to make with magnesium flakes - dissolving them in water to create the "oil" and then adding an essential oil to it.

Magnesium Flakes | www.maplealps.com

All I had to do was put on a few sprays and let it work it's magic. I expected a little tingle, as was described by Rachel, and that really was the case. Except it was itchy and tingly. Really itchy. If you know me, however, the more painful it is, the more it must be working, so I was rejoicing and ready for the day. It stung less the more I used it, of course.

While I did find that the spray was effective, I also concluded that it was a bit...messy to use if I wasn't careful to let it dry. I found that if I put clothes on before it was absorbed, I had an "oily" shirt (Do note that it didn't stain my clothes at all. It came right out in the wash). For maximum effectiveness, I needed to apply this twice a day, which was fine, as long as I wasn't in a hurry. If I didn't bother with the second application, I didn't smell bad at the end of the day, but peace of mind is everything to me. 

1/2 C (4 oz.) magnesium flakes

1/2 C (4 oz.) distilled water (make sure it's distilled to extend shelf life)

10-15 drops essential oils (I've tried tea tree and peppermint)

1) Boil the distilled water. 

2) Add magnesium flakes and allow to dissolve

3) Allow to cool completely then add to 4oz. glass spray bottle (I use these ones)

4) Add essential oils

To Use: spray on, rub in a bit, and allow to dry.

In conclusion: I would totally recommend this. I can't deny that it works. There's no nasty residue, and feels fresh. I never mind an extra dose of magnesium either! 

Homemade Natural Deodorant | www.maplealps.com

What about you? Would you ever try a natural deodorant? Have you? What about this one? Leave a comment telling me about it - I'm all ears!


DIY Body Wash

Natural LivingAmanda Walter | Maple Alps22 Comments

A few days ago, I wrote about making and using do it yourself (DIY) hand soap. I talked briefly about the chemicals found in our soap products and about the benefits of castile soap and other natural ingredients. After I finished my experience with the hand soap, I thought to myself, "why not take it a step further? Sure, you're letting less toxins in through the skin of your hands, but what about the rest of your body?"

I knew it was time to try body wash. 

This post contains affiliate links.

Easy and Moisturizing DIY Body Wash! Super easy and no chemicals added!

Our skin is the largest living and absorbing organism we have! Imagine what might happen long term if we eliminated these harsh chemicals, or imagine if we continued using them...

Here's a little recap from my post about hand soap:


Triclosan (and even small amounts of it) is the most discouraged additive to soaps and hand sanitizers. Not only is it bad for humans (even low levels can lead to thyroid issues, etc.), but once it gets into the environment (waste water treatments can't remove all of it), it is harmful to aquatic life. 
Avoid fragrance. FDA laws allow the word "fragrance" on our labels to include whatever the product makers want. I don't even want to know the kinds of toxins that are included under that umbrella.
Sodium Lauryl Sulfate. There it is again. We talked about this in my toothpaste post, but apparently it's common in shampoos and soaps - basically anything that foams. It's the active ingredient in industrial strength soaps and garage cleaners. I would write more, but there's lots to say - I really read a lot about it. One helpful article I found was here.


I didn't want to take any chances, so I went ahead and made my own body wash too! Nothing wrong with that, right? Honestly, I made fun of myself a little bit, but it was a good time. 

Again, it was worth the cost and took less time than driving to the store to get some.

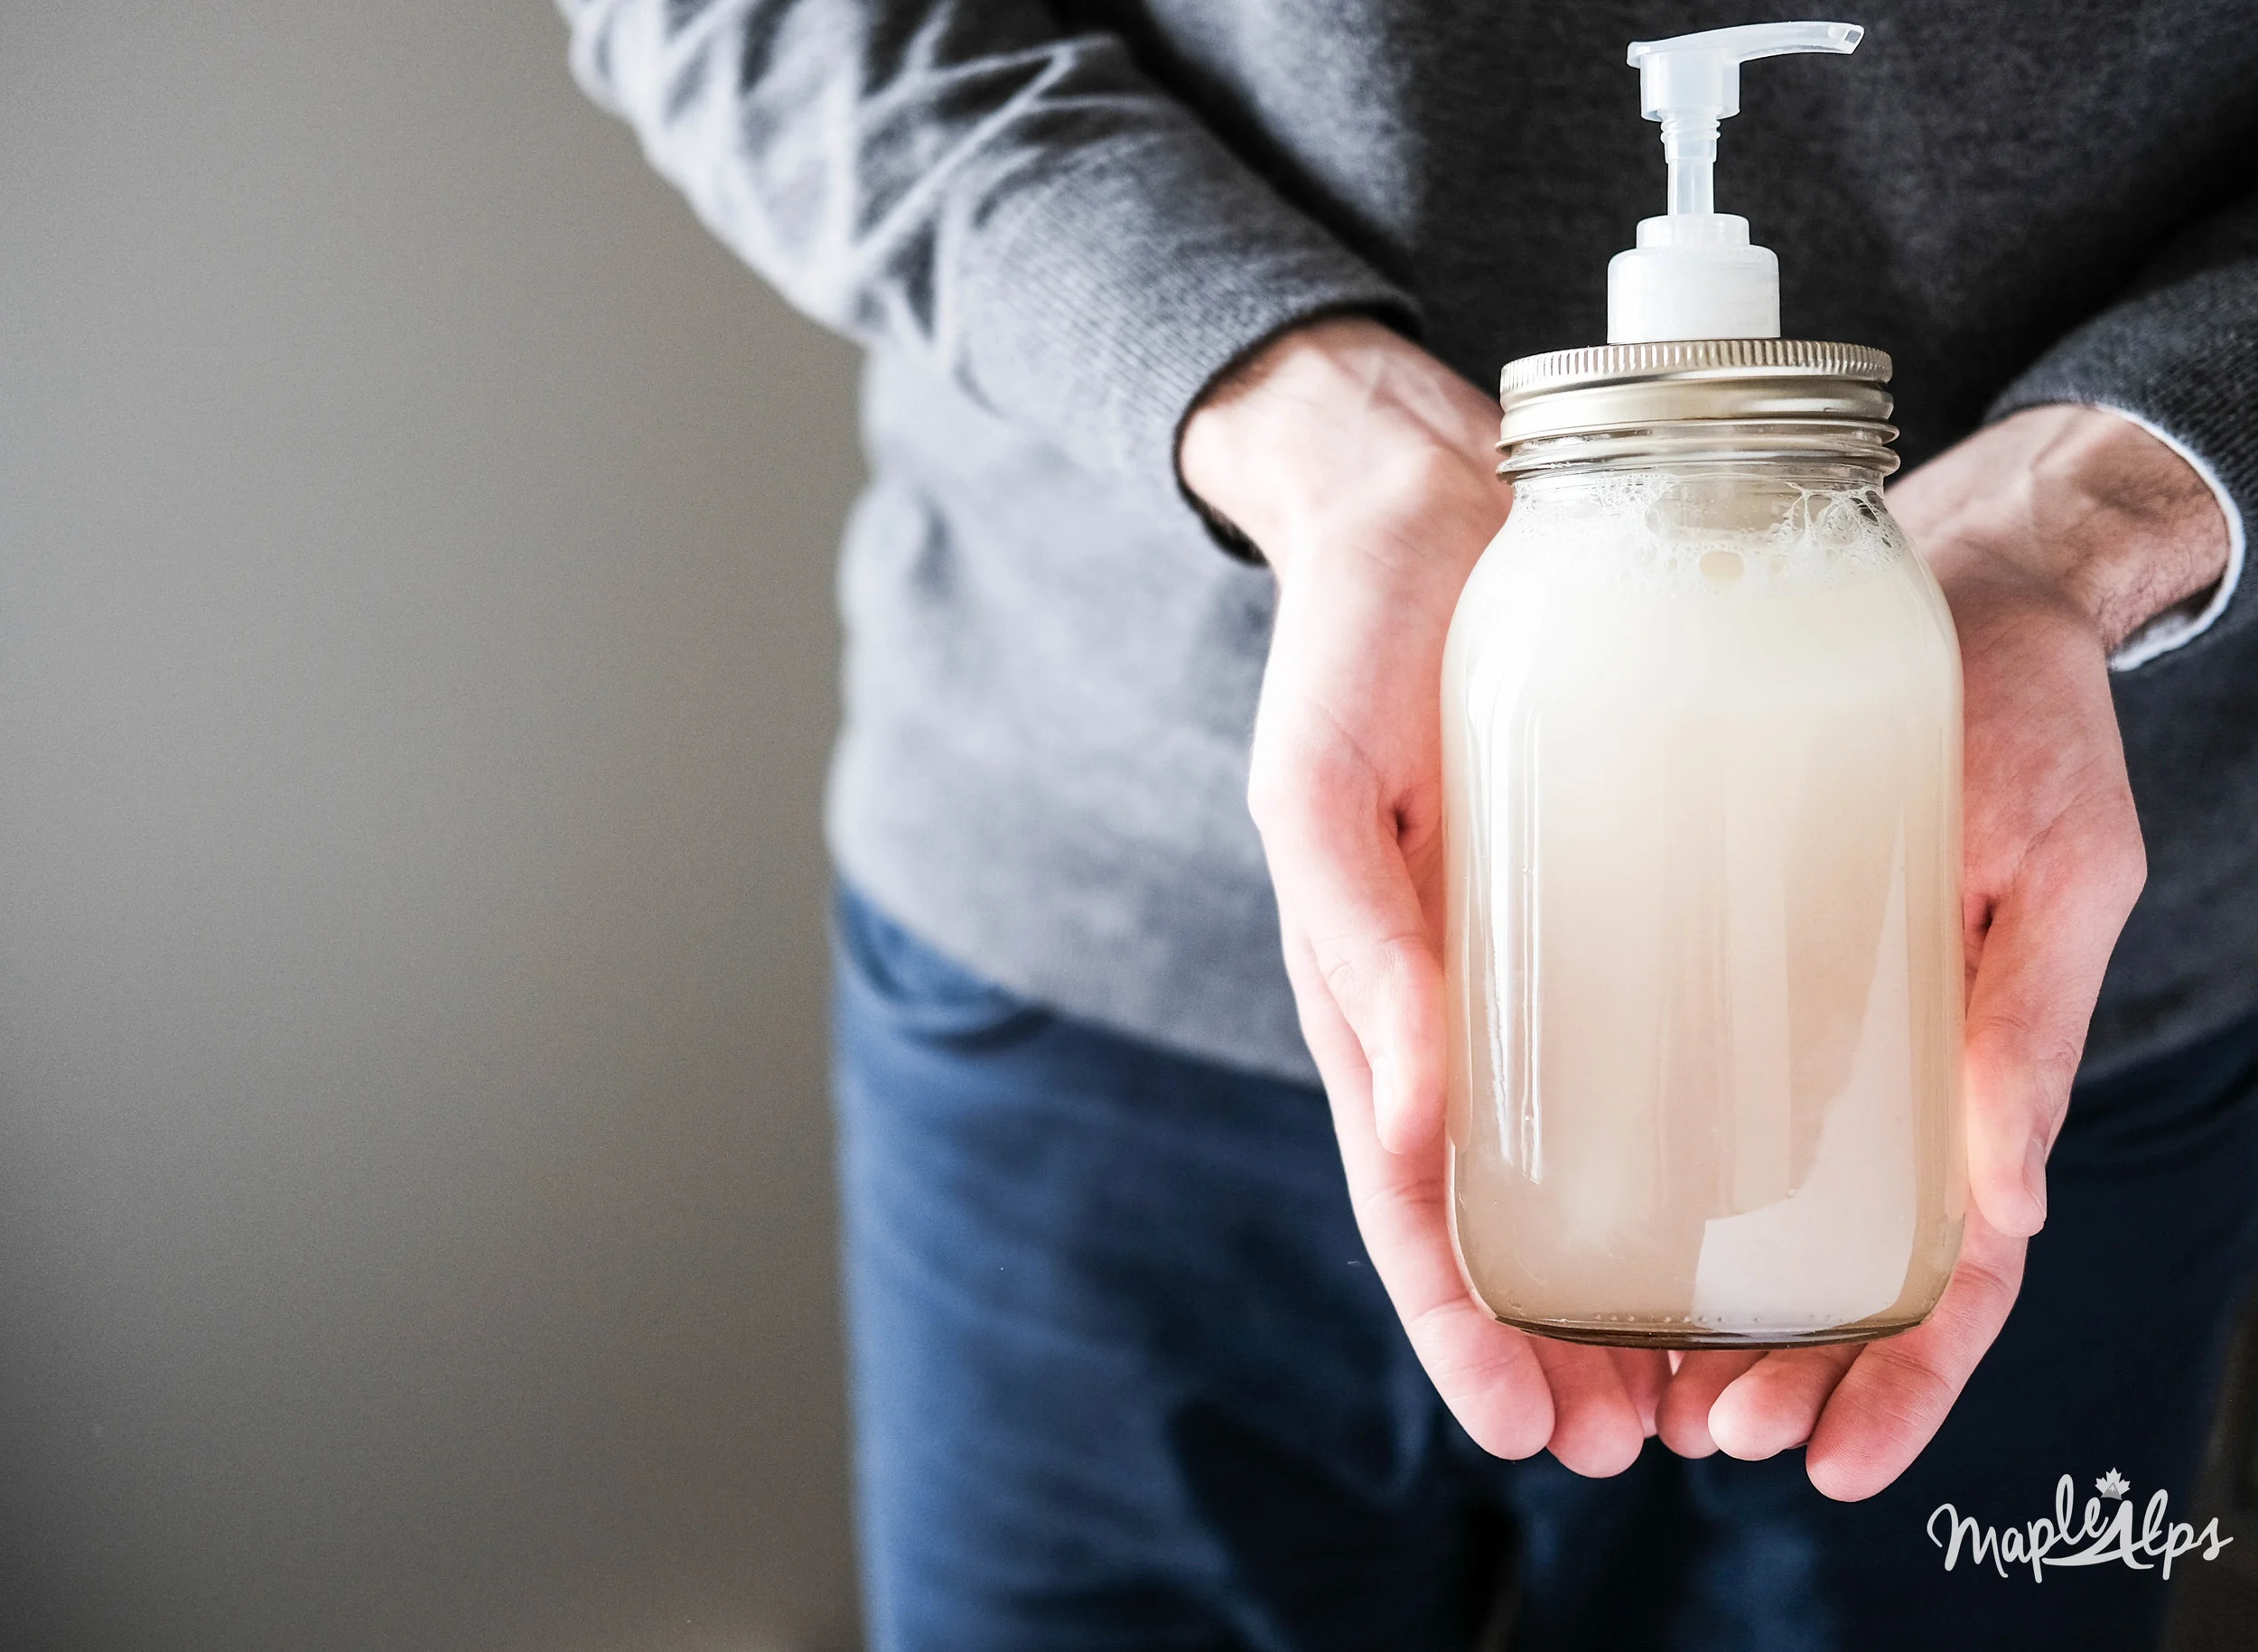
Another shout out to J for modelling! How talented is he?!

DIY Body Wash

I decided on a glass mason jar and pump attachment to avoid having to open and close a container every time. It was easy to use. Just one pump onto a loofah, lather it up, and you're good to go!

After using the body wash, I found the same thing to be true of my skin as I did with the hand wash - I felt moisturized and clean. I would also like to add that I smelled good post shower. :)

I can't wait to experiment more! 

What you need:

  • 1 cup Castile Soap (I use this Castile Soap brand from Amazon)

  • 1 cup Distilled Water

  • 4 TBSP Sweet Almond Oil

  • 2 tsp Vitmin E Oil

  • 20-30 drops Essential Oil of  Your Choice*

    *I used peppermint. If you use a citrus oil, be careful of the sun - I read that citrus oils could increase your skin's sensitivity to the sun

What to do:

1) Combine all the ingredients in a container (I use a large glass mason jar) and shake gently to mix.

2) To use, add a pump to a bath sponge or loofah.


I'll be sure to update you if I find something that works even better, but I am completely satisfied with what I conjured up here! 

Did you try the hand soap? Do you think you'll try this too?


Natural Living-6.png